
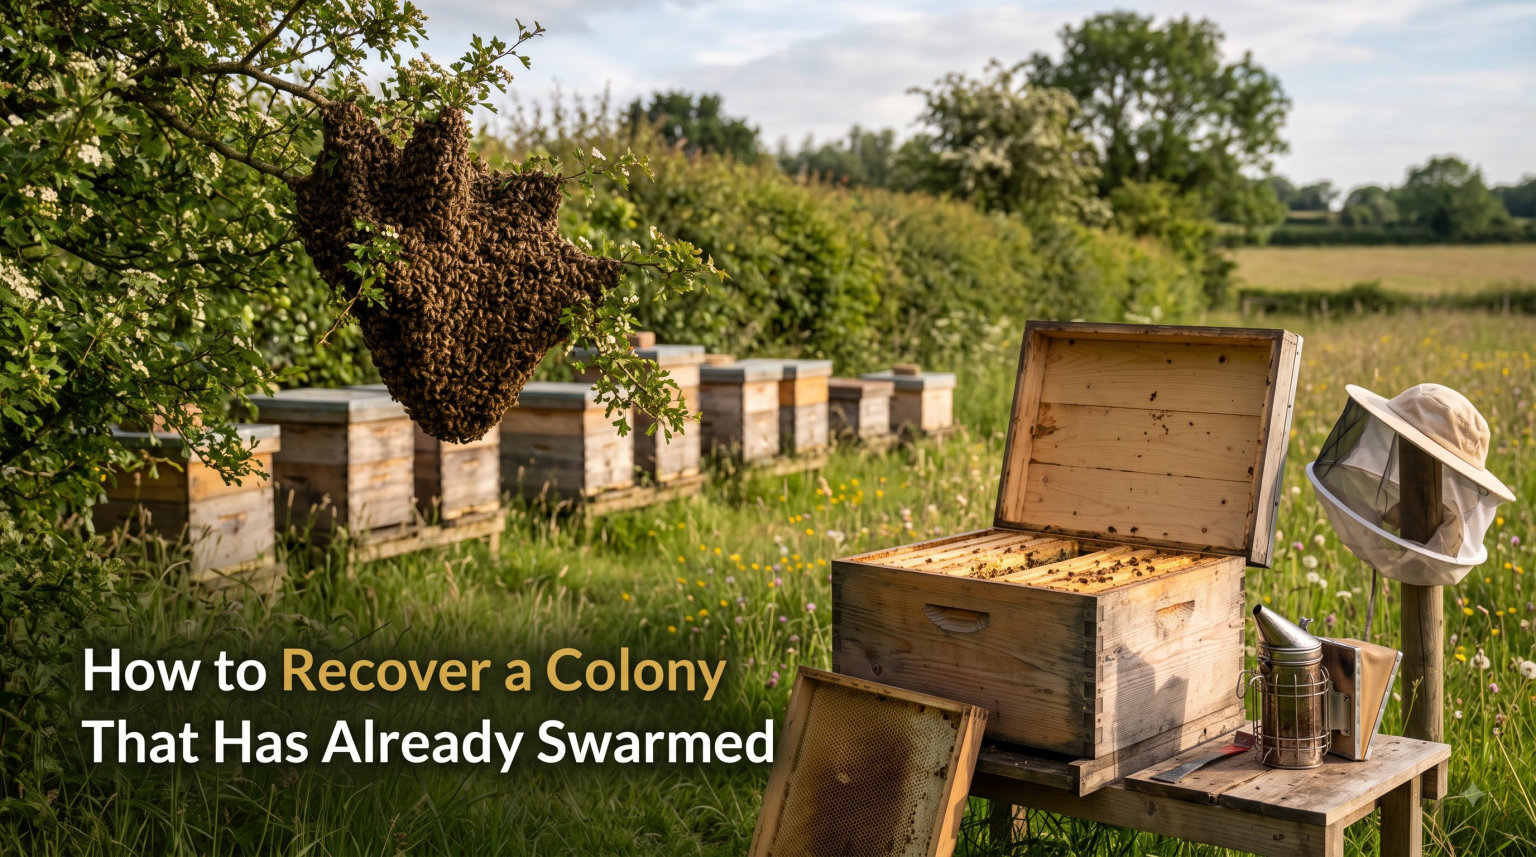
Walking up to your hive and finding half your bees gone is a gut punch that every beekeeper eventually experiences. The good news is that learning how to recover a colony that has already swarmed is one of the most rewarding skills you can develop in beekeeping. A swarmed colony is not a dead colony. With the right steps taken at the right time, your hive can bounce back stronger than before.
Our team has worked through dozens of post-swarm recoveries, from panicked beginner mistakes to carefully timed mated queen introductions. What follows is everything we have learned about reading the signs, choosing the right recovery method, and getting your colony back on track. We will cover the immediate actions you should take, three distinct recovery approaches, a side-by-side comparison no other guide offers, and a troubleshooting section for when things go sideways.
Whether your bees swarmed yesterday or two weeks ago, this guide walks you through the full recovery process step by step. By the end, you will know exactly what to inspect, what decisions to make, and what timeline to expect for each approach.
Table of Contents
Understanding Swarming: What Just Happened to Your Colony
Swarming is honey bee reproduction at the colony level. The old queen leaves with roughly half the worker bees to find a new home, leaving behind the original hive with brood, stores, and queen cells ready to produce a new queen. It is not a sign of failure. It is a sign your colony was healthy and strong enough to reproduce.
What remains in your hive after a primary swarm is a queenless colony with a reduced population. The departing bees take mostly flying bees with them, leaving behind nurse bees and developing brood. Critically, they leave behind ripe or capped queen cells that the remaining workers will use to raise a new queen.
The window between the primary swarm and the emergence of the first virgin queen is your most important decision-making period. Within days of the primary swarm, the first virgin queen will emerge from her cell. If you do nothing, she may kill her rival queens and take a mating flight. Or she may lead a secondary swarm, called a cast swarm, further depleting your colony.
Understanding this biology matters because every recovery decision flows from it. Your job is to manage the remaining queen cells, prevent further swarming, and ensure the colony ends up with a productive laying queen as fast as possible.
Key Terms You Need to Know
Queen cells are the peanut-shaped structures on the face or bottom of a brood frame where new queens develop. Swarm cells are queen cells built along the bottom edge of frames, signaling swarming intent. Emergency queen cells are built from worker cells when the queen is suddenly lost. A capped queen cell contains a developing queen ready to emerge. A virgin queen is a newly emerged queen that has not yet mated. A mated queen has completed her mating flights and is ready to lay fertilized eggs.
How to Tell If Your Colony Has Already Swarmed
Before you can recover your colony, you need to confirm that swarming actually happened. Several telltale signs will tell you the story. Here is what to look for during your next inspection.
1. Sudden drop in bee population. The most obvious sign is that the hive simply looks emptier. Frames that were wall-to-wall with bees last week now have visible comb between clusters. You may see fewer guard bees at the entrance and less flight activity overall.
2. No eggs visible in the brood nest. If you cannot find any eggs standing upright in the bottom of cells, the laying queen is gone. Eggs remain visible for about three days after being laid, so their absence means the queen left at least that long ago. If you also see no young larvae, the swarm happened over a week prior.
3. Capped queen cells present. Look along the bottom edges of brood frames for peanut-shaped queen cells. If they are capped, the new queen is close to emerging. If some are already torn open on the side or bottom, a virgin queen has likely already emerged.
4. Reduced stores of pollen and nectar coming in. With fewer foragers, incoming resources drop noticeably. You may see pollen still coming in from the remaining field bees, but at a reduced rate.
5. No queen found during inspection. If you cannot locate the queen and there are no eggs, the old queen likely left with the swarm. Do not panic. This is normal after swarming.
Immediate Steps After Discovering a Swarm
The first thing to do after your hive has swarmed is stay calm and conduct a thorough inspection. Do not make any changes on the same day you discover the swarm. Your first inspection is for gathering information, not for taking action.
Open the hive and work through every brood frame carefully. Count the queen cells you find and note their locations on the frames. Check whether the cells are capped or still open. Look for eggs and young larvae to estimate when the swarm occurred. Record your findings so you can track progress over the coming weeks.
After documenting the state of the colony, you have three main recovery paths to choose from. Each has its own timeline, cost, and skill level. Your choice depends on your experience, your goals for the season, and how many queen cells the colony has produced. The three approaches are introducing a mated queen, letting the colony requeen naturally, or stepping back and leaving the hive alone for 30 days.
Before deciding, reduce the entrance to help the smaller colony defend itself. Add an entrance reducer if you have one, set to the smallest opening. This protects the weakened population from robbing bees and wasps while the colony rebuilds.
Recovery Method 1: Introducing a Mated Queen
Introducing a mated queen is the fastest and most reliable recovery method. A mated queen can begin laying eggs within a few days of release, cutting your colony’s downtime from six weeks down to about two. This is the approach most experienced beekeepers recommend for beginners and for anyone who wants to maximize honey production in the current season.
Step 1: Remove All Queen Cells
Every single queen cell must be found and removed before you introduce a mated queen. This is the most important step in the entire process. If you miss even one cell, the colony may reject your new queen in favor of raising their own, or worse, the colony may swarm again.
Work through every frame methodically. Shake or brush bees off each frame so you can see the comb clearly. Check the bottom bars, the face of the comb, and any irregularities in the wax. Remove queen cells by cutting them out with a hive tool or pinching them between your fingers. Some beekeepers save viable queen cells in a nuc or use them to requeen other colonies.
Step 2: Verify the Colony Is Queenless
After removing all queen cells, confirm there is no virgin queen hiding in the hive. Look for a queen that is smaller and faster than a mated queen, with a shorter abdomen. If you recently had capped queen cells, a virgin may have already emerged and be running on the frames. Finding a virgin queen is difficult, so some beekeepers wait 24 to 48 hours and check for emergency queen cells as proof of queenlessness.
Step 3: Install the Queen in Her Cage
Place the mated queen inside her introduction cage between two central brood frames. The cage candy plug faces upward or sideways so attendants can access it. Do not release her manually. Let the colony release her by eating through the candy plug over one to three days. This slow release lets the bees accept her pheromones gradually.
Step 4: Check Acceptance After Five Days
Return to the hive after five days and check whether the queen has been released. If she is out of the cage, look for eggs to confirm she is laying. If she is still in the cage and the bees are balling it aggressively, the colony has not accepted her yet. Give them a few more days. If they are calm around the cage, manually release her with confidence.
The total recovery time with a mated queen is approximately two to three weeks from introduction to a full laying pattern. You will spend money on the queen, typically 30 to 50 dollars depending on your region and supplier, but you gain weeks of brood production and a much higher chance of honey that season.
Recovery Method 2: Letting the Colony Requeen Naturally
Natural requeening costs nothing and lets the bees raise their own queen from the existing queen cells. This approach works well for beekeepers who have patience, want locally adapted genetics, and are not dependent on honey production from that colony this season. The tradeoff is a longer recovery period of five to eight weeks.
Step 1: Assess the Queen Cells
Count every queen cell in the hive and determine their stage of development. You want to identify the largest, most well-fed cells. These are typically on the bottom edges of the best brood frames and contain larvae swimming in royal jelly. If you have more than three or four good queen cells, you can reduce them to the best two to prevent cast swarms.
Step 2: Select the Best Cells and Reduce to Two
Choose the two largest, healthiest queen cells and destroy the rest. This is called cell reduction or cell culling. By leaving two cells, you have a backup in case one fails to emerge or mate successfully. More than two cells increases the risk of cast swarms, where a virgin queen leaves with a portion of your remaining bees.
Destroy extra cells by pressing them flat with your hive tool. This also gives you a chance to open a few and check the developing queen inside. A healthy queen larva will be large, white, and curled in abundant royal jelly.
Step 3: Leave the Colony Alone for Two Weeks
Close the hive and do not open it for at least 10 to 14 days. The virgin queen needs to emerge, harden, and prepare for her mating flights. Disturbing the colony during this period can cause the queen to be killed or can interrupt the delicate mating process. Mark your calendar so you resist the temptation to peek.
Step 4: Check for Eggs After Four Weeks
Return after four weeks from the swarm date and inspect for eggs. If you see eggs standing in cells, the new queen has mated and begun laying. If you see no eggs, give her another week. Virgin queens sometimes need extra time to complete their mating flights, especially in bad weather.
If after six weeks there are still no eggs, the mating has likely failed. At that point, you will need to combine this colony with another or introduce a mated queen. A queenless colony that has been without a laying queen for too long will develop laying workers, which is one of the hardest problems to fix in beekeeping.
Recovery Method 3: The 30-Day Leave-Alone Approach
Some experienced beekeepers advocate a simple hands-off approach after swarming. The idea is to leave the colony completely alone for a full month after the primary swarm and then inspect to see whether the new queen has successfully mated and begun laying. This method minimizes disruption to the virgin queen during her critical emergence and mating period.
The 30-day rule works because the natural queen development cycle takes about 16 days from egg to emergence, and a virgin queen typically mates within one to two weeks after emerging. Add a few days for the first eggs to appear, and you arrive at roughly 30 days from the swarm date to a laying queen.
The downside of this method is that you cannot prevent cast swarms if the colony decides to send more bees out. With multiple capped queen cells and no intervention, the hive could throw two or three cast swarms, each taking more bees and leaving the mother colony dangerously weak. For this reason, the leave-alone method works best when you are confident the colony had only one or two queen cells to start with.
If you choose this approach, reduce the entrance immediately after the primary swarm to protect the reduced population. Check on the hive from the outside for activity levels and pollen coming in, but resist opening it. Come back on day 30 with fresh frames and a plan for either confirming a laying queen or intervening with a mated queen introduction.
Mated Queen vs Natural Requeening: Which Should You Choose?
This is the decision every beekeeper faces after a swarm. No other guide lays out the comparison side by side, so we built one based on our team’s field experience and data from beekeeping forums. Here is how the two main recovery methods stack up against each other.
| Factor | Mated Queen Introduction | Natural Requeening |
|---|---|---|
| Recovery time | 2 to 3 weeks | 5 to 8 weeks |
| Cost | 30 to 50 dollars for the queen | Free |
| Success rate | High when cells are fully removed | Moderate, depends on mating weather |
| Skill level needed | Beginner friendly | Intermediate |
| Honey production this season | Likely possible | Unlikely or greatly reduced |
| Cast swarm risk | Eliminated if cells removed | Possible if too many cells left |
| Genetics | Supplier genetics, proven lineage | Local drone genetics, potentially well-adapted |
| Winter survival outlook | Strong, colony recovers fast | Good if timing allows population buildup |
For beginners and anyone hoping for honey this season, we recommend the mated queen method. The faster recovery and higher success rate outweigh the cost. For experienced beekeepers who want locally adapted stock and can afford to write off honey production, natural requeening is a valid and satisfying choice.
Preventing Cast Swarms and Secondary Swarms
Cast swarms are the biggest threat to a colony that has already swarmed once. Each cast swarm removes more bees, and a colony can throw two or three of them in quick succession. After multiple cast swarms, the mother hive may be left with too few bees to recover at all.
Cast swarms happen when multiple virgin queens emerge and the colony sends extras out with clusters of bees. To prevent this, you must control the number of queen cells in the hive. After a primary swarm, go through every frame and reduce queen cells to just one or two of the best ones. Destroy the rest by pressing them flat.
If you are introducing a mated queen, remove every queen cell completely. This eliminates any reason for the colony to swarm again. If you are letting the colony requeen naturally, keeping only two cells gives you a backup while minimizing cast swarm risk.
Another prevention measure is to check for the old queen if you suspect the primary swarm has not actually left yet. Sometimes the bees build queen cells and swarm preparations are underway but the queen has not departed. In that case, you can perform an artificial swarm split to control the process yourself rather than letting nature take its course.
Keep an eye on the weather too. A period of bad weather that traps virgin queens in the hive can lead to a burst of cast swarms once conditions improve. If you know your colony has multiple ripe queen cells and a stretch of rain is forecast, consider intervening before the weather breaks.
Recovery Timeline: What to Expect Week by Week
Setting realistic expectations is one of the most helpful things you can do for yourself after a swarm. Here is a general timeline for what happens in the colony during recovery, based on the natural requeening path.
Week 1: The old queen is gone with the swarm. Remaining bees are caring for capped brood and queen cells. The colony may feel subdued but is functional. You should see pollen coming in from remaining foragers.
Week 2: The first virgin queen emerges from her cell. She spends several days hardening and orienting. The colony population continues to decline as older bees die off without new brood emerging to replace them.
Weeks 3 to 4: The virgin queen takes her mating flights, typically on warm, calm afternoons. She mates with 10 to 20 drones from nearby colonies. After mating, she begins developing her ovaries and preparing to lay.
Week 5 to 6: The new mated queen begins laying eggs. You should see a compact brood pattern developing on central frames. The colony starts rebuilding its population with new bees emerging roughly 21 days after the first eggs are laid.
Weeks 7 to 8: Brood production is ramping up. New bees are emerging regularly. The colony is on its way to full recovery if it has adequate stores and space.
If you used a mated queen introduction instead, compress this timeline significantly. You should see eggs within the first week of release, capped brood by week three, and new bees emerging by week four. The colony recovers roughly a month faster than with natural requeening.
Troubleshooting Common Recovery Problems
Not every recovery goes smoothly. Here are the most common problems beekeepers encounter after a swarm and how to address each one.
The Colony Rejects the Introduced Queen
If the bees ball the queen cage or kill the queen after release, the colony may still have a virgin queen or emergency queen cells you missed. Re-inspect the entire hive, remove any queen cells or virgins, and try again with a new queen after confirming true queenlessness. Some beekeepers wait 24 hours between removing cells and introducing a queen to let the colony feel fully queenless.
No Eggs After Six Weeks of Natural Requeening
If six weeks have passed since the swarm and you still see no eggs, the virgin queen likely died on her mating flight or was eaten by a bird. Birds, bad weather, and pesticides are common causes of mating failure. At this point, introduce a mated queen immediately if the colony still has enough bees to support one. If the population is very low, consider combining the colony with a stronger hive.
Laying Workers Have Developed
If a colony has been queenless for too long, worker bees begin laying unfertilized eggs that become drones. This is called laying worker syndrome and it is extremely difficult to reverse. Signs include multiple eggs per cell, erratic laying patterns, and drone brood in worker cells. The best solution is to combine the colony with a queenright hive using the newspaper method. Introducing a queen to a laying worker colony almost always fails because the workers kill her.
The Colony Is Too Small to Recover
After multiple cast swarms, some colonies are reduced to a handful of bees with insufficient population to keep brood warm or defend the hive. If you estimate fewer than three frames of bees, the colony probably cannot recover on its own. Your options are to combine it with another colony or to add a frame of emerging brood from a strong hive to boost the population.
You Cannot Find the Virgin Queen
Finding a virgin queen is notoriously difficult because she is small, fast, and does not stand out like a mated queen. Instead of searching for her, look for evidence of her presence. Fresh polished cells, eggs, and a calm colony demeanor all indicate a queen is present. If the colony is calm and not building emergency cells, she is likely in there and doing her job.
FAQs
What to do after your hive has swarmed?
After your hive has swarmed, conduct a calm inspection to document queen cells and estimate when the swarm occurred. Reduce the entrance to protect the smaller colony. Then choose a recovery method: introduce a mated queen for fast recovery in two to three weeks, let the colony requeen naturally over five to eight weeks, or leave the hive alone for 30 days. Remove excess queen cells to prevent cast swarms.
What is the 3 3 3 rule for bees?
The 3 3 3 rule is a beekeeping mnemonic for inspecting a new package or nuc after installation. Check the hive after 3 days to confirm the queen is released, after 3 weeks to verify she is laying, and after 3 months to assess colony buildup. Some beekeepers also apply a similar timing framework to post-swarm recovery checks.
How to recapture a swarm of bees?
To recapture a swarm, place a box or nuc directly below or beside the swarm cluster. Gently shake or brush the bees into the container in one quick motion. The queen usually falls in with the cluster, and the remaining bees will follow her scent. Once most bees are inside, close the box in the evening when foragers have returned and relocate the swarm to a new hive.
Will bees come back after swarming?
The bees that leave with the swarm do not come back to the original hive. They leave permanently to establish a new colony. However, the bees remaining in the mother hive will stay and rebuild under a new queen. With proper recovery management, the original colony can fully recover its population within two to three months.
Conclusion
Knowing how to recover a colony that has already swarmed turns a stressful moment into a manageable process. The key is to inspect carefully, choose the right recovery method for your situation, and act decisively to prevent cast swarms. Whether you introduce a mated queen for speed or let the bees requeen naturally for free, a swarmed colony has every chance of bouncing back with the right care.
Remember the essentials: reduce queen cells to control swarming, set a timeline and stick to it, and check for eggs to confirm success. If a recovery attempt fails, do not hesitate to combine colonies or try a different method. Every experienced beekeeper has dealt with failed recoveries and learned from them.
Your next step is simple. Go inspect your hive with confidence, document what you find, and choose the recovery path that fits your goals for the season. The bees are ready to rebuild. All they need is your guidance and a little patience.