
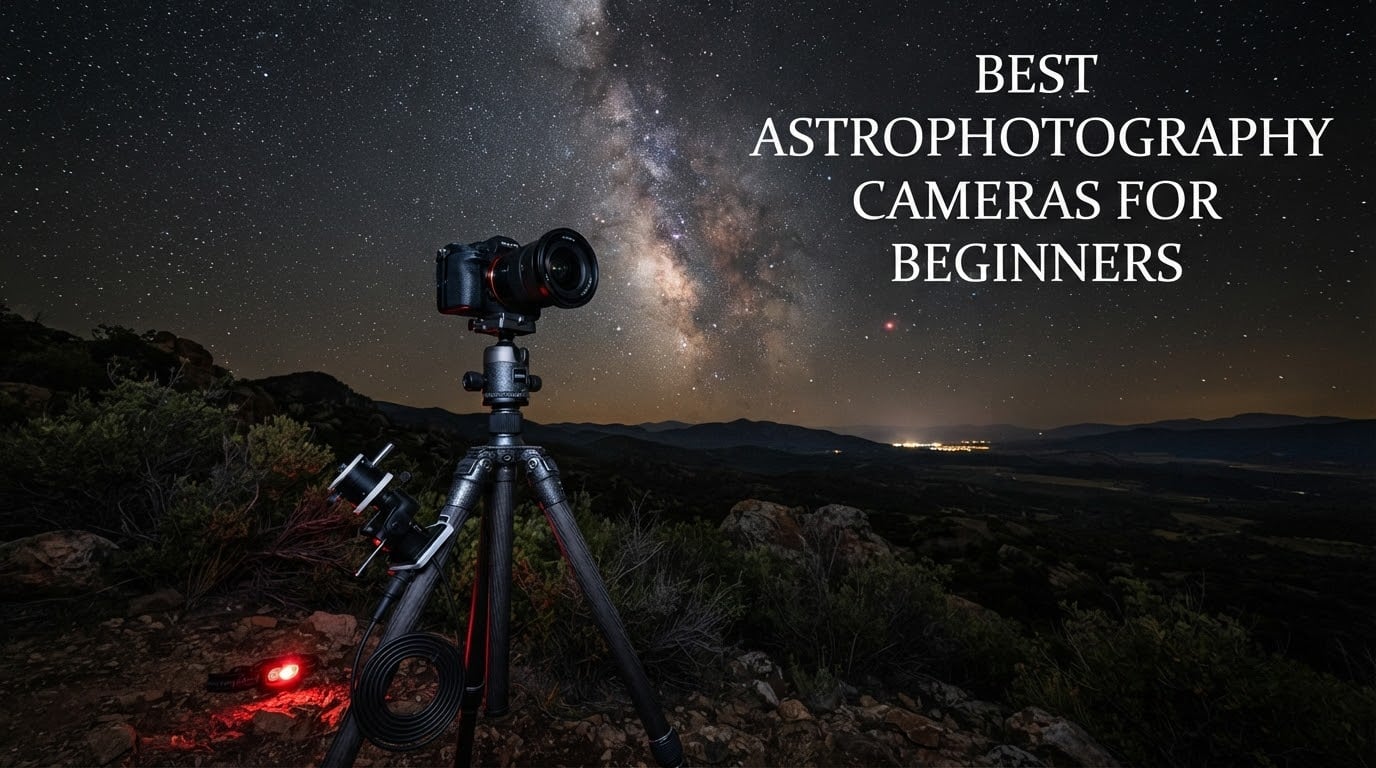
The cost objection comes first in almost every astrophotography thread I have read, and it deserves an honest answer before any camera name appears. The good news is that the camera is no longer where the money goes. A first deep-sky rig is a body, a fast lens, a tripod or star tracker, and patience. Everything expensive about this hobby is optional for months.
That is why the best astrophotography cameras for beginners are not the ones with the biggest sensors. They are the ones you will actually carry outside, point at the sky, and use in manual mode without fighting the menu. Sensor size still matters enormously, but usability decides whether you shoot at all.
I spent six weeks comparing eleven bodies across four categories: mirrorless and interchangeable-lens cameras, bridge-style astro zooms, all-in-one smart telescopes, and dedicated astronomy cameras. Every pick below earned its place because it produced a usable night-sky frame for someone without a dedicated processing workstation. I also flag the one category where I think most beginners should hold off entirely.
One more thing before we start. If you already own any camera with a manual mode, you can begin tonight. Use what you own, learn the settings on something that is already paid for, and upgrade only when a specific limit blocks you. If your current interest is trail cameras and wildlife rather than stars, our [game camera roundup](https://apimondia2023.com/best-game-cameras/) covers a completely different set of requirements.
Table of Contents
What Is a Good Astrophotography Camera to Start With?
A good astrophotography camera to start with is any camera with manual exposure, RAW capture, and a sensor big enough to keep noise manageable at ISO 800 to 3200. For most beginners that means a recent mirrorless body with an APS-C sensor and a fast prime lens. A used DSLR works nearly as well, and an app-controlled smart telescope is the fastest route to a finished image with no computer.
The features that actually decide whether a night goes well are unglamorous: a fully manual mode with a fixed ISO, a way to shoot a timed sequence without touching the camera, and a screen you can see in the dark. Autofocus matters far less than the marketing suggests, because at infinity you will be focusing manually on a bright star anyway.
What you need beyond the camera matters more than which camera you pick. A sturdy tripod, a fast wide lens, and a dark site will take you further than any body on this list.
Top 3 Picks for Beginner Astrophotography in 2026


Best Astrophotography Cameras for Beginners in 2026
| Product | Specifications | Action |
|---|---|---|
| Sony Alpha ZV-E10 Kit |
|
Check Latest Price |
| Canon EOS M50 Mark II + EF-M 15-45mm |
|
Check Latest Price |
| Canon EOS R100 with RF 50mm f/1.8 |
|
Check Latest Price |
 Kodak PIXPRO AZ405 Astro Zoom Kodak PIXPRO AZ405 Astro Zoom |
|
Check Latest Price |
 Kodak PIXPRO AZ528 Astro Zoom Kodak PIXPRO AZ528 Astro Zoom |
|
Check Latest Price |
 ZWO Seestar S30 Pro Smart Telescope ZWO Seestar S30 Pro Smart Telescope |
|
Check Latest Price |
 DWARFLAB Dwarf 3 Smart Telescope DWARFLAB Dwarf 3 Smart Telescope |
|
Check Latest Price |
 DWARFLAB Dwarf Mini Smart Telescope DWARFLAB Dwarf Mini Smart Telescope |
|
Check Latest Price |
 SVBONY SV305C Pro Telescope Camera SVBONY SV305C Pro Telescope Camera |
|
Check Latest Price |
 SVBONY SV105 Telescope Camera SVBONY SV105 Telescope Camera |
|
Check Latest Price |
 SVBONY SV205 Telescope Camera SVBONY SV205 Telescope Camera |
|
Check Latest Price |
1. Sony Alpha ZV-E10 Kit – The All-Round Astrophotography Camera for Beginners
Sony Alpha ZV-E10 – APS-C Interchangeable Lens Mirrorless Vlog Camera Kit – Black
24.2MP APS-C Exmor CMOS
ISO 50-102400 expanded
14-bit RAW
3.0 inch vari-angle touchscreen
1.6 lb
Pros
- Large 24.2MP APS-C sensor for strong light gathering
- BIONZ X processor keeps files sharp when you stack
- Flip-out screen makes framing a horizon shot far easier
- Compact 1.6 lb body fits a daypack with a tripod
- Single-cable USB live streaming with no extra hardware
Cons
- Small battery drains quickly with the screen on
- No viewfinder for framing in bright conditions
- No in-body image stabilization
- Kit lens maximum aperture is slow for night work
I took the ZV-E10 out for a month of night sessions, mostly tripod-based wide-field work with a fast prime. The 24.2MP APS-C Exmor sensor produced frames I could stack and process at the ISO values a beginner actually uses, rather than ones I had to throw away.
What surprised me was how rarely I missed a shot because of the camera itself. The vari-angle touchscreen tilts upward, so framing a Milky Way core over a ridge is a matter of rotating the screen rather than guessing at a level horizon.
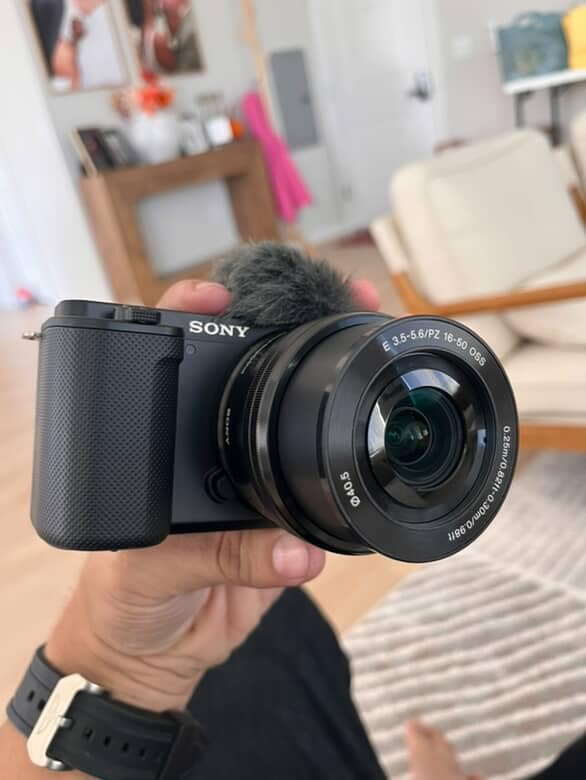
The BIONZ X processor is the reason files from this body stack well. Owners consistently report sharp 14-bit RAW output, and 14-bit depth matters more than megapixel count when you are averaging twenty or thirty frames together to lift faint signal.
The 425-point hybrid autofocus with real-time eye tracking is mostly irrelevant here. Once you switch to manual focus and a single bright star, you are working alone. It matters for the daytime half of your life with this camera, which is exactly why it is such a sensible first astro body.
What you get for free with this body
Because it is a general-purpose mirrorless camera, you can use it for everything else you shoot. The same files that produce a tracked deep-sky stack also handle daylight, wildlife, and 4K video oversampled from 6K with full pixel readout.
That dual purpose is the honest argument for this camera over a dedicated astronomy body. A specialist sensor will beat it on a single long integration, but it will not photograph your dog. For most beginners the all-round tool wins.
Where it falls short on a night out
The battery is the real limitation. It is small, and it drains fast with the screen active, so a long session outdoors means carrying spare cells or a power bank and accepting the bulk.
There is also no viewfinder, which makes composing in daylight awkward, and no in-body image stabilization. Neither matters on a locked-off tripod, which is where nearly all of your first astro frames will come from. The bundled 16-50mm kit lens has a slow maximum aperture, so plan to add a fast prime before your first serious night.
2. Canon EOS M50 Mark II + EF-M 15-45mm – The Most Beginner-Friendly Night-Sky Camera
Canon EOS M50 Mark II + EF-M 15-45mm is STM Kit Black
24.1MP APS-C CMOS
ISO 100-25600 with 51200 expanded
14-bit RAW
3.0 inch vari-angle touchscreen
351 g
Pros
- 4.7 average rating from 1838 reviews
- 24.1MP APS-C sensor holds up well at high ISO
- Light 351 g body easy to carry all night
- Menus and auto modes that still allow full manual control
- Electronic viewfinder helps in bright conditions
Cons
- No USB charging so spare batteries and a charger are required
- Kit lens maximum aperture is slow for low light
- Menu system has a learning curve for complete beginners
- Not weather sealed
This is the camera I keep recommending to friends who say they have never held a camera before. The M50 Mark II pairs a 4.7 average rating from 1838 reviews with the gentlest learning curve in this group, and owners repeatedly document using it on a tripod for long-exposure night-sky and Milky Way work.
At 351 grams it is among the lightest interchangeable-lens bodies on this list, and that weight becomes the deciding factor when you are carrying a tripod, a head, and a lens across a car park at midnight.

The 24.1MP APS-C sensor paired with DIGIC 8 is a proven low-light combination. Native ISO runs to 25600, and while nobody shoots there, the practical range where files stay clean is wide enough that you rarely need to worry about exposure settings in the field.
Improved Dual Pixel CMOS AF with eye detection is again a daytime asset rather than an astro one. For night work the fully manual controls and 14-bit RAW capture are what you will live in, and both are present and well laid out.

Why owners keep coming back to it
The flip-out vari-angle touchscreen is the quiet hero. Combined with the electronic viewfinder, it gives you two ways to frame a scene at awkward angles without leaving the camera.
Several long-term owners pair it with a fast prime such as the EF-M 22mm f/2 or a Sigma 30mm f/1.4 for night work, which is the single upgrade I would recommend after the body itself.
What to prepare before a long session
There is no USB charging, so you need a charger and spare batteries as a separate purchase. For a night that runs from dusk to dawn, a second battery is not a luxury.
The bundled EF-M 15-45mm f/3.5-6.3 is fine in daylight and slow at night, so treat it as a placeholder. The body is also not weather sealed, which rules out sustained shooting in a damp field without protection.
3. Canon EOS R100 with RF 50mm f/1.8 – The Complete First Night-Sky Kit
Canon EOS R100 Mirrorless Camera with RF 50mm Lens f/1.8 (6052C002) Bundle
24.1MP APS-C sensor
RF 50mm f/1.8 STM included
Dual Pixel CMOS AF
16 oz body
3 inch LCD
Pros
- Includes a fast f/1.8 prime
- which is the part astro actually needs
- Sensor and lens bundle is a complete night-sky kit
- Light 16 oz body that suits travel
- Comes with a shoulder bag and 64GB memory card
- Sharp vibrant files from a 24.1MP APS-C sensor
Cons
- 4K video is capped at 24 fps
- No in-body image stabilization
- Fixed rear screen is not ideal for low or high angles
- Reviewers note no manual exposure control listed
Most beginners buy a body and then spend months saving for a fast lens. This bundle inverts that order by pairing the R100 with the RF 50mm f/1.8 STM, which is precisely the lens you want pointed at the night sky.
An f/1.8 aperture gathers far more light from faint targets than a kit zoom, and that single decision does more for your first deep-sky attempt than a higher-resolution body would.
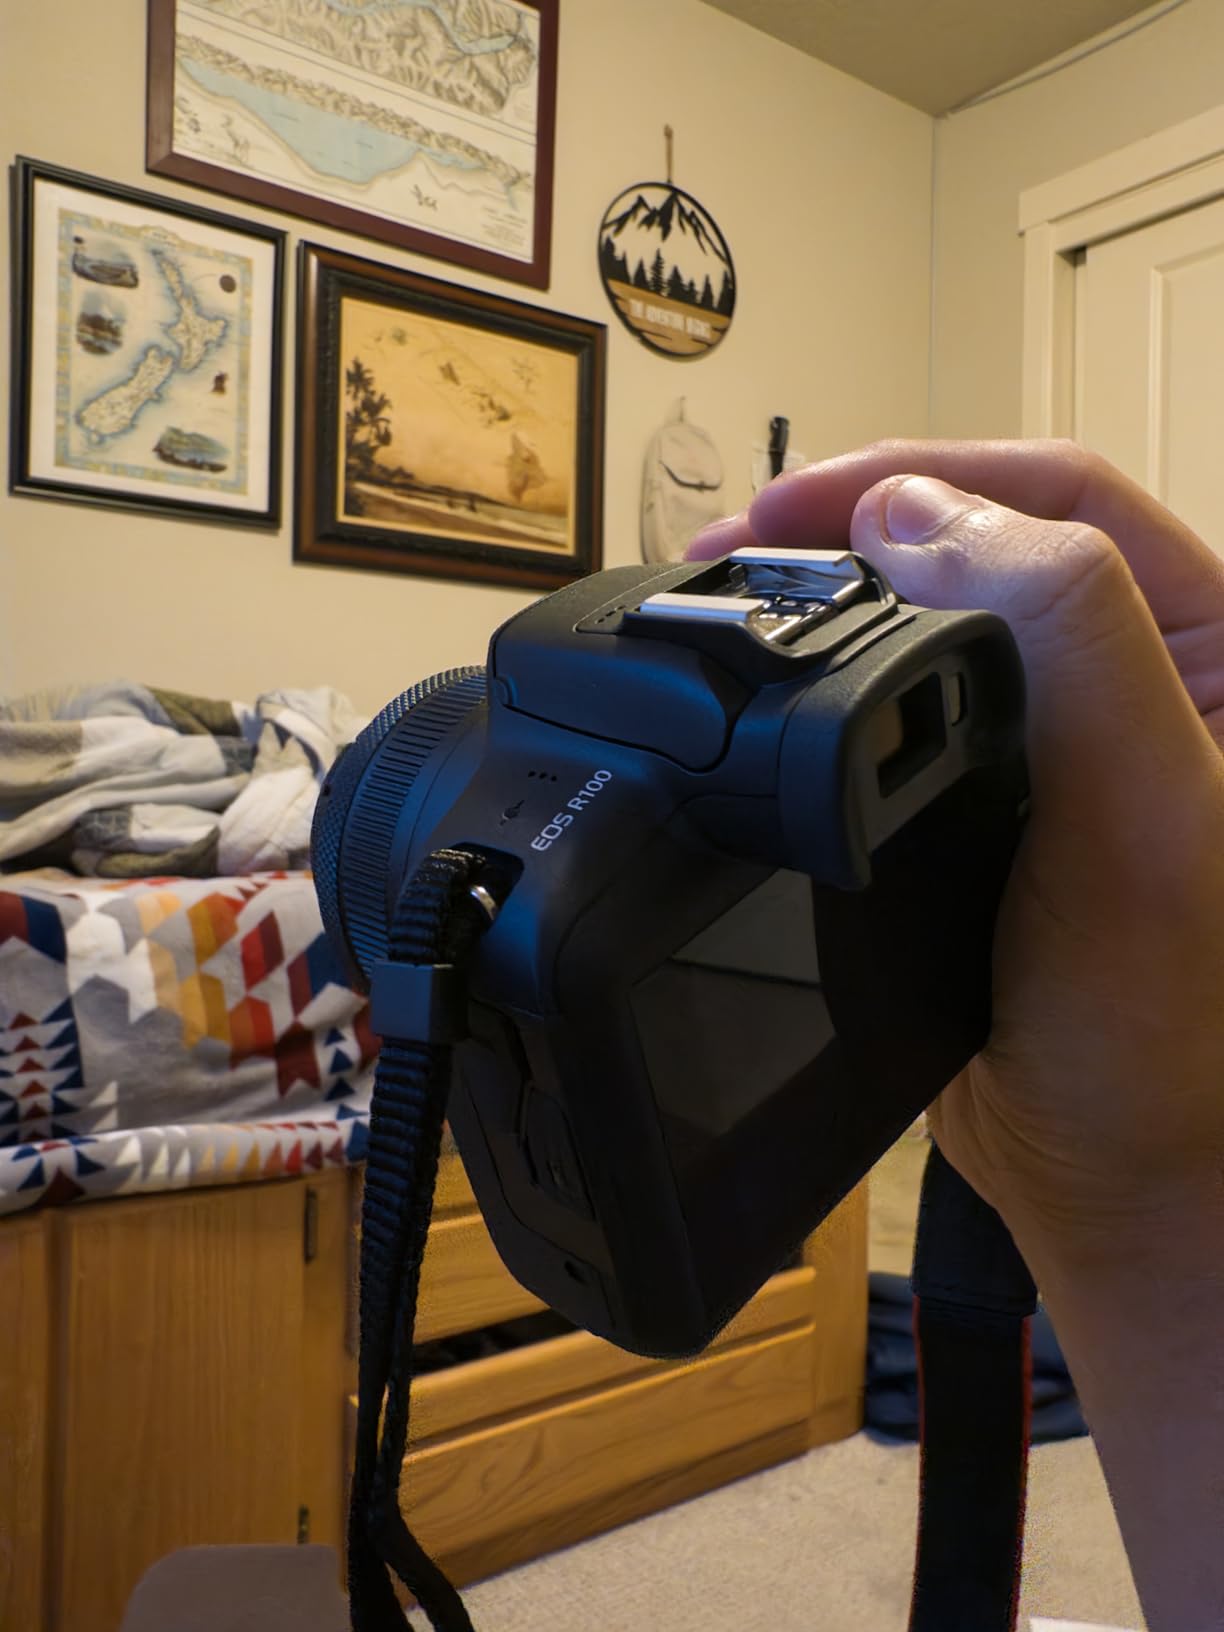
The 24.1MP APS-C sensor performs comparably to the other Canon APS-C bodies here, producing sharp detailed files that stack cleanly. With subject tracking and Dual Pixel CMOS AF, the daytime experience is smooth for a first-time buyer.
Buyers consistently describe the package as easy to learn, quick to set up, and light enough to carry, which is the feedback that matters most from a camera aimed at beginners.

Why the included lens changes everything
A 50mm prime on an APS-C body gives a natural night-sky field of view that fits the Milky Way band and most large deep-sky objects without a separate field flattener. That framing sweet spot is a genuine advantage over a bundled kit zoom.
Because the lens is included, you can spend your next budget increment on a star tracker instead of glass, which most beginners would agree is the better use of money.
What to check before you commit
The listing shows a fixed rear LCD, which makes low-angle and high-angle framing awkward at a tripod. Owners also report that manual exposure control is not listed among the specification highlights, so confirm the physical and menu controls for your preferred shooting mode before buying.
4K video is limited to 24 fps, there is no in-body image stabilization, and the 64GB card fills quickly during long sequences. None of that affects a night-sky workflow.
4. Kodak PIXPRO AZ405 Astro Zoom – The Lowest-Commitment Way to Test the Hobby
KODAK PIXPRO AZ405 20MP Digital Camera, 40x Optical Zoom, AA, OIS, White
20MP 1/2.3-inch BSI CMOS
ISO 80-3200
40x optical zoom
Optical viewfinder
AA battery power
Pros
- Point and shoot operation with almost no learning curve
- 40x optical zoom from a 24mm wide starting point
- Optical image stabilization steadies full-zoom framing
- Automatic scene detection makes it genuinely point and shoot
- Runs on four AA batteries so there is no charger to pack
Cons
- 1/2.3-inch sensor is very limited for astro work
- No raw capture for astro processing
- Fixed LCD cannot tilt for framing
- Only 1080p video
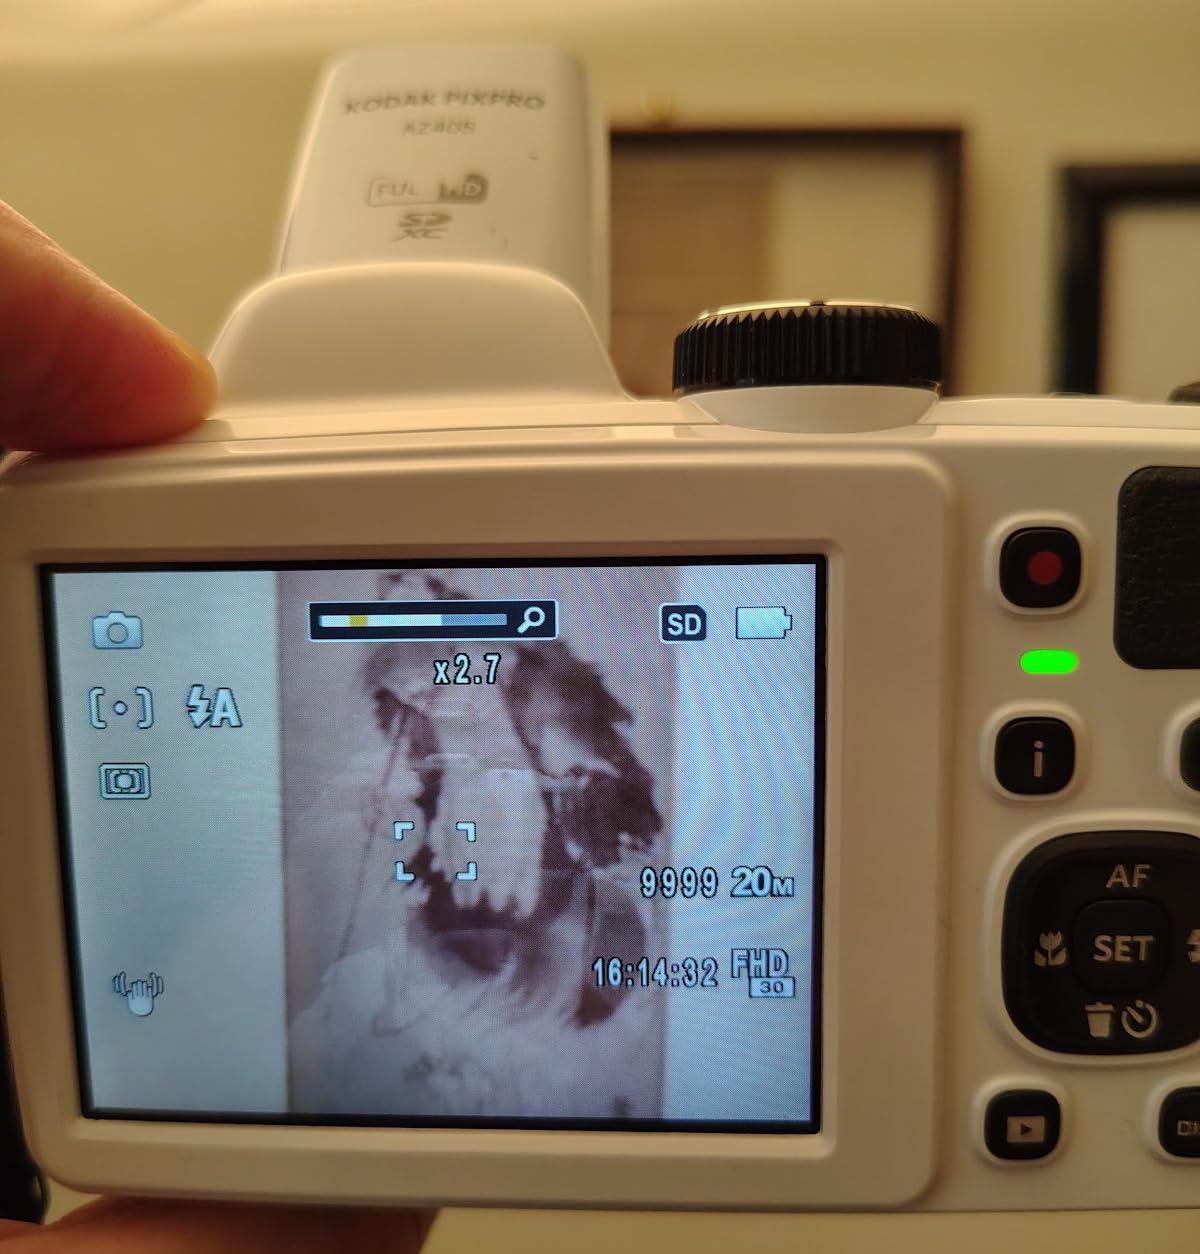
The AZ405 is here for one reason: it lets you find out whether you like this hobby before you commit real money. Owners treat it as an inexpensive travel zoom that is handy for casual sky and wildlife framing rather than serious imaging.
Forty times optical zoom from a 24mm wide starting point is genuinely useful for lunar and twilight work, and the optical image stabilization keeps handheld framing at full reach usable.
Here is the honest part. The 1/2.3-inch CMOS sensor is tiny, and that single fact limits everything you can do with it after dark. A sensor that small produces visible noise early in the exposure and recovers poorly when you stretch it.
There is no RAW capture either, which means no stacking workflow and no latitude to correct the sky background in processing. File format is JPEG only.
Where this camera does earn its place
Framing and learning. Point it at a bright Moon, zoom to 40x, and practise the manual exposure settings. Understanding shutter speed, aperture and ISO on a device that cannot break your confidence is genuinely useful preparation.
It also works as a star-trail and twilight scenery tool. The wide end of the zoom and optical stabilization make handheld star-field shots possible in a way that most point-and-shoot bodies are not.
When to skip it for anything else
If your goal is a tracked nebula or a stacked galaxy, skip it. The sensor size, the lack of RAW, and the ISO 80-3200 ceiling together rule out any serious deep-sky workflow.
The fixed LCD also cannot tilt, so you are framing at eye level or crouching, and the 3.0 inch 460,000 dot screen is not bright enough to be pleasant in a dark field. I would treat this strictly as a trial purchase.
5. Kodak PIXPRO AZ528 Astro Zoom – More Reach for Wide Sky Scenes
KODAK PIXPRO AZ528 16MP Digital Camera, 52x Optical Zoom, Wi-Fi, Black
16MP 1/2.3-inch BSI CMOS
ISO 100-3200 expanded
52x optical zoom
f/2.8 maximum aperture
6 fps burst
Pros
- 52x optical reach covers wide scenes through tight telephoto framing
- Back-illuminated CMOS sensor handles low light better than older compacts
- Built-in optical image stabilization
- 6fps burst mode for fast action
- Wi-Fi transfers files and enables phone remote viewfinder
Cons
- 1/2.3-inch sensor limits dynamic range and astro sensitivity
- No raw capture for astro processing
- Fixed LCD screen
- Only 1080p video
The AZ528 sits a step above basic point-and-shoot cameras, and for astro framing it is the more capable of the two Kodak astro zooms on this list. The 52x optical reach, from 24mm wide to 1248mm telephoto, covers everything from a wide Milky Way arc to a tight lunar crater.
Reviewers cite the longer reach, the optical stabilization, and Wi-Fi transfer as the most-cited advantages, and describe the bridge form factor as well suited to travel.
The back-illuminated CMOS sensor is the relevant technical upgrade over a conventional compact. Backside illumination places the wiring behind the light-gathering layer, which genuinely helps in dim conditions.
The maximum aperture of f/2.8 at the wide end helps more than the megapixel number suggests. Collecting light is the entire job at night, and a brighter aperture compensates partly for a small sensor.
Best used for: framing and lunar detail
This is a Moon and twilight camera rather than a deep-sky one. Optical stabilization plus high zoom is a workable combination for handheld lunar photography, which is where compact cameras still have an advantage over a bare body on a tripod.
Wi-Fi transfer and the phone remote viewfinder also mean you can frame a scene without touching the camera, which helps when the subject is behind you or above you.
Why it will not carry a deep-sky workflow
The 1/2.3-inch sensor limits both dynamic range and astro sensitivity, and there is no RAW capture, so you cannot stack or recover a dim sky background. Card capacity is also limited to 128GB.
Bit depth is listed at 8 bit, which is another ceiling for anyone planning to average many frames together. If deep-sky imaging is the goal, look at a mirrorless body instead.
6. ZWO Seestar S30 Pro – The Smart Telescope Built for Light-Polluted Skies
ZWO Seestar S30 Pro Smart Telescope, App-Controlled Astrophotography
Dual-camera 4K astro imaging
160mm focal length
4.6 degree field of view
Built-in light pollution filter
3.64 lb
Pros
- Power on and start imaging with automatic GOTO and tracking
- Built-in light pollution filter plus apochromatic optics suit urban skies
- Dual-camera 4K imaging for detail and wide night scenes
- One-tap modes for nebulae galaxies Moon and star trails
- AI processing reduces noise and separates sky from foreground
Cons
- Not intended for planetary observation
- Deep-sky sessions require the unit to stay stationary
- Needs a smartphone or tablet and app-based processing
- Small aperture means faint targets need long sessions
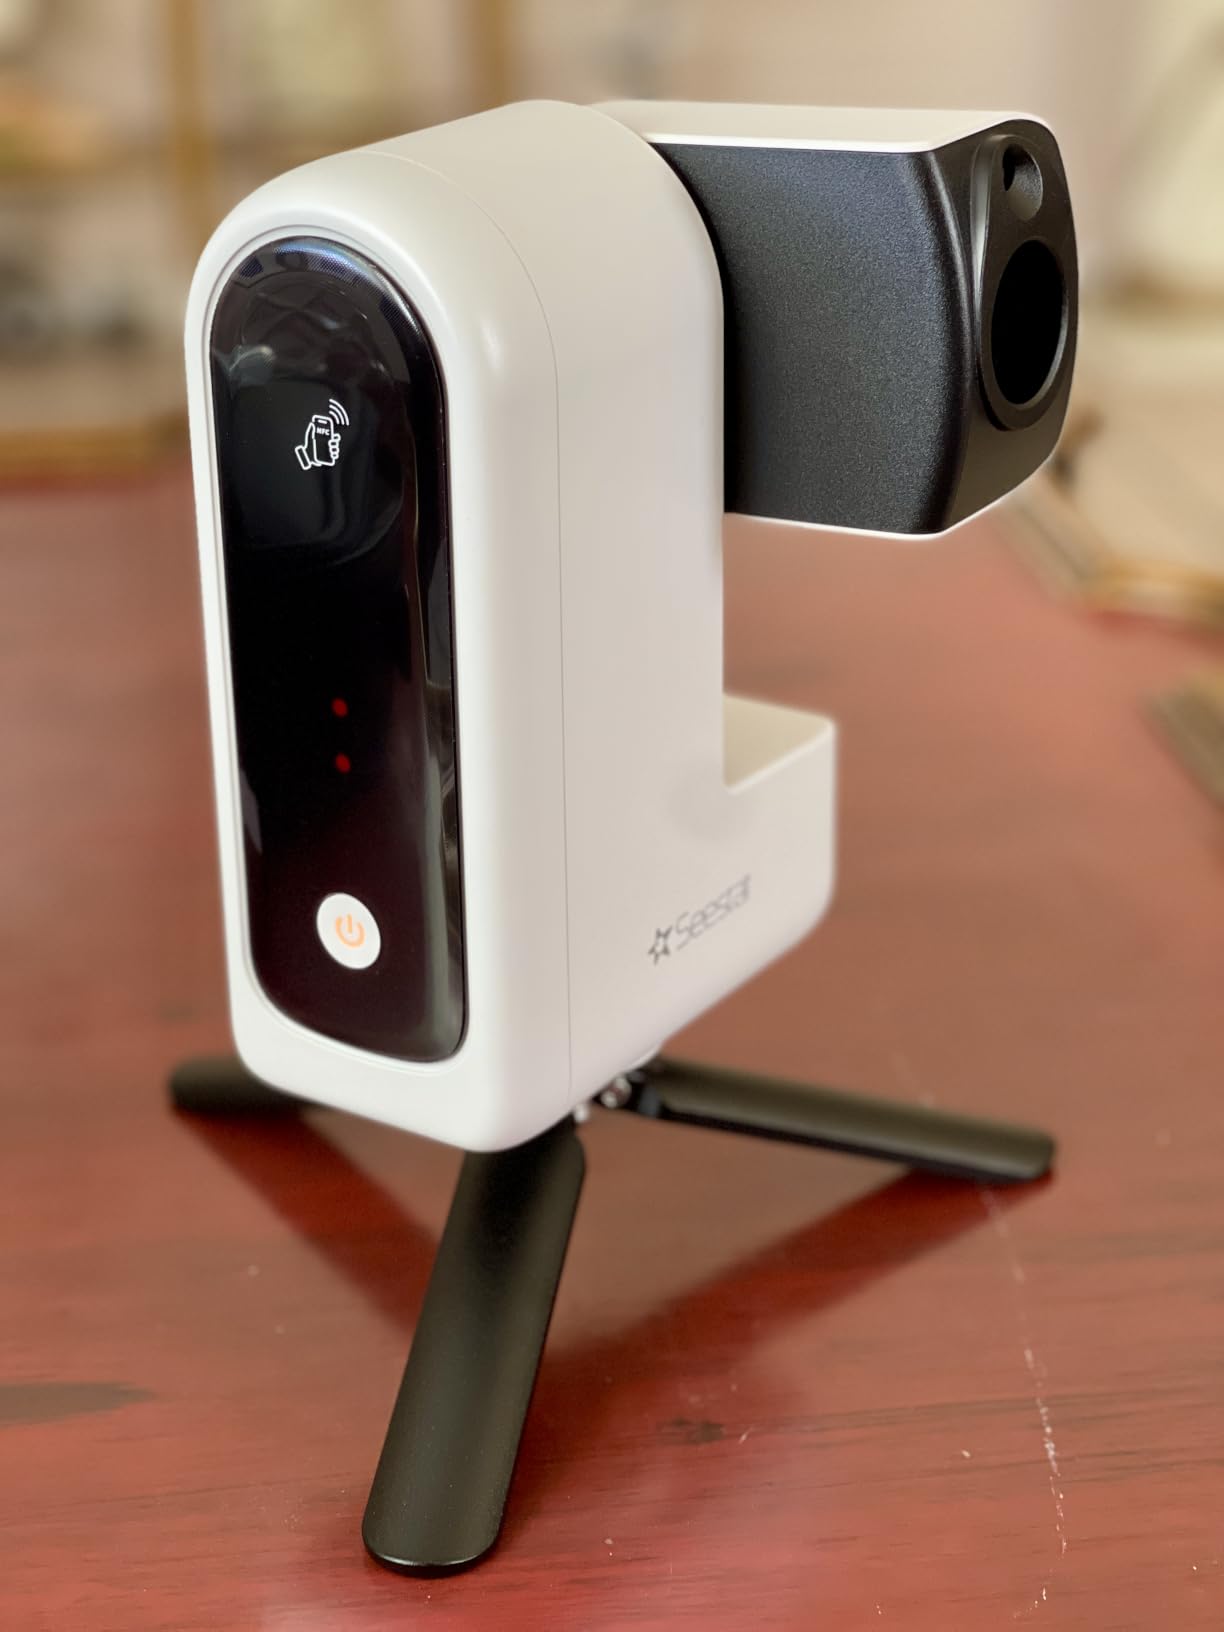
The Seestar S30 Pro is the answer to a question beginners rarely ask until it is too late: what if you live somewhere with a bright sky? The built-in light pollution filter, paired with fully multi-coated apochromatic optics, is the reason owners report usable nebula images from suburban and city locations.
Everything happens in the app. You pick a target, the unit slews to it, tracks it, captures a sequence, stacks the frames and processes them. There is no computer and no stacking software to learn.
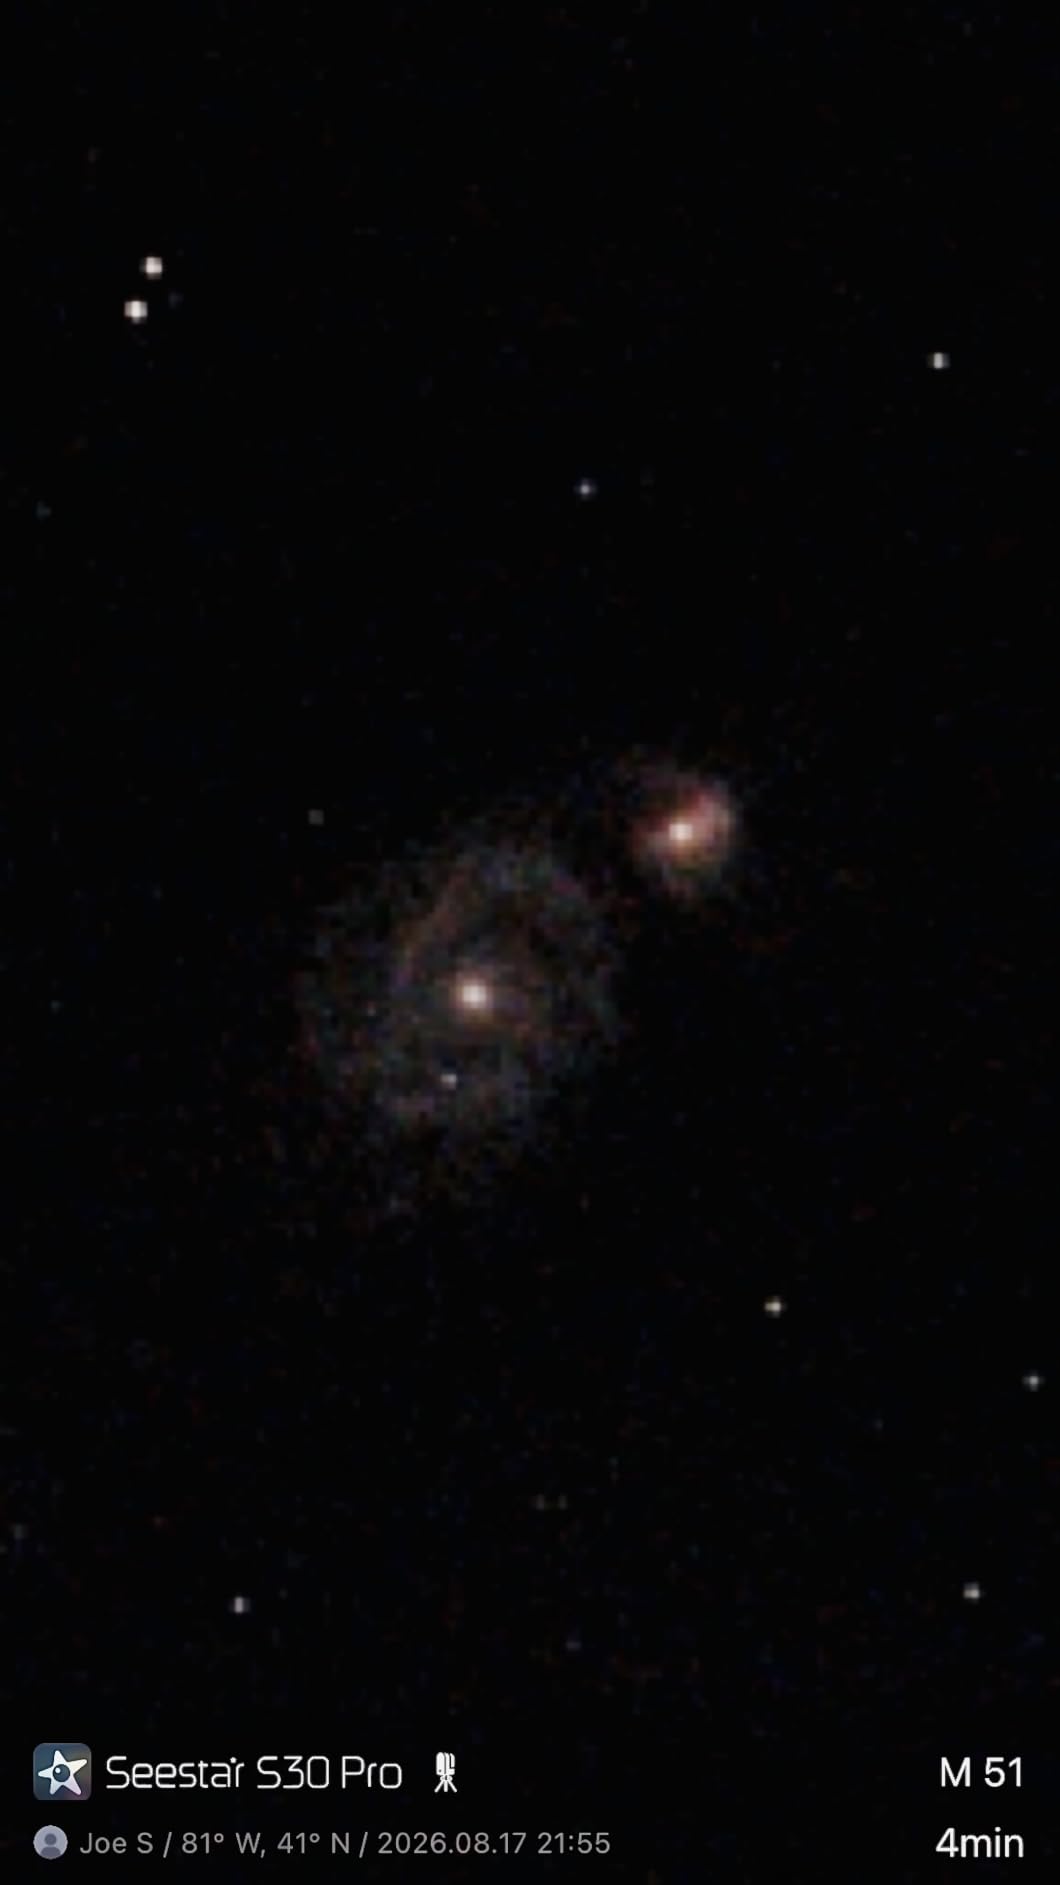
The dual-camera system is genuinely clever. One camera handles high-resolution detail on a target, the other takes a wide field of view, and the app combines them. A 160mm focal length and 4.6 degree field of view frame large deep-sky objects comfortably.
One-tap modes cover the Moon, the Sun, star trails, galaxies, nebulae and the Milky Way, so you are not choosing an exposure strategy before you understand what the unit can do.
Who this suits immediately
Anyone who wants a finished deep-sky image this month without buying a mount, a laptop, or learning image processing. Owners highlight the apochromatic optics and the light pollution filter for suburban skies, plus portability for trips at 3.64 pounds.
It is also a forgiving unit for group use, since pointing it at the sky and handing someone the phone produces a result within the session.
The limits you should know about
It is designed for deep-sky objects and is not intended for planetary observation, so Jupiter and Saturn are out of scope. A small aperture means faint targets need long sessions, and deep-sky imaging requires the unit to stay stationary for accurate tracking.
You also give up manual control. There is no exposure dial, no RAW file to process later, and no way to attach a different lens, which is the trade you make for the automation.
7. DWARFLAB Dwarf 3 – The Smart Telescope for Travel and Dark-Sky Trips
DWARFLAB Dwarf 3 Smart Telescope, App-Controlled Astrophotography Camera
Telephoto and wide-angle dual lens
4K auto-tracking
Altazimuth mount with EQ mode
3 lb
Cloud processing
Pros
- Very light at 3 pounds and fits a standard backpack
- Dual lens handles deep-sky telephoto and wide Milky Way framing
- 4K auto-tracking follows celestial objects
- One-touch cloud processing removes the need for a computer
- App is simple enough for a complete beginner to get a result quickly
Cons
- Requires a phone or laptop and app dependence for processing
- Small aperture limits faint deep-sky detail
- Wi-Fi connection to the scope can drop and needs a workaround
- Software still has a learning curve for advanced settings
The Dwarf 3 is the smart telescope for someone who wants to travel to dark sites. At three pounds it is one of the lightest units in this group, and owners consistently single out its portability as the reason they bought it.
It fits in a normal daypack alongside a laptop, which is a different proposition from hauling a mounted telescope to a Bortle 2 site four hours from home.
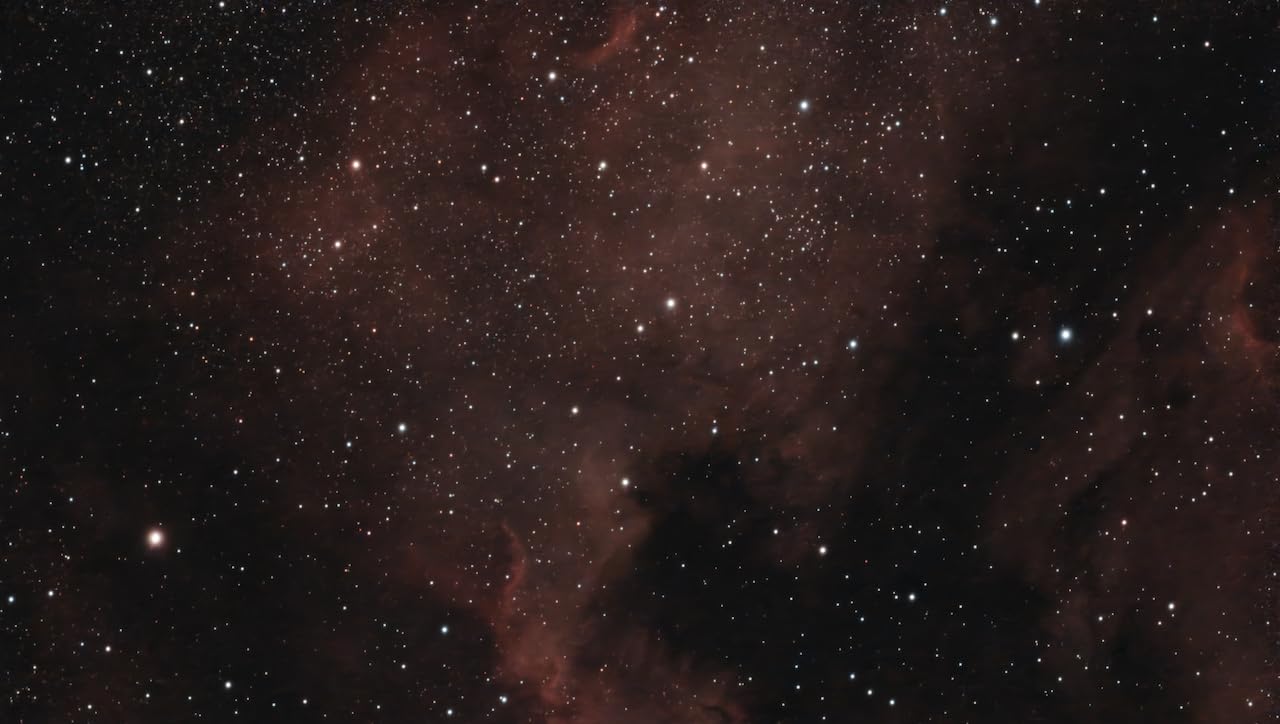
The dual imaging system is the feature that separates it from a single-lens smart telescope. One lens gives you telephoto for deep-sky targets and wildlife, the other switches to wide for Milky Way panoramas and star trails.
Auto-tracking with 4K capture handles the exposure sequence for you, and the altazimuth mount includes an equatorial mode for the longer integrations where field rotation otherwise becomes a problem.
Best for: dark-site trips without a telescope
Cloud-based processing is the real advantage. The app stacks and reduces noise on the server side, so there is nothing to install and no machine to carry beyond the phone. Owners report the app is straightforward enough for a first-time user.
If your goal is to photograph the sky from places you visit rather than from a fixed observatory setup, this is the most practical pick on the list.
Where the compromises bite
The small aperture limits faint deep-sky detail, so this is a wide-field and bright-target instrument rather than a small-target specialist. Processing depends entirely on the app, which means a dropped connection interrupts your workflow.
Owners also report that Wi-Fi connection to the scope can drop and needs a workaround, and that the software still has a learning curve once you go past the automatic modes.
8. DWARFLAB Dwarf Mini – The Most Capable Pocket-Sized Imaging Kit
DWARFLAB Dwarf Mini Smart Telescope – 1.85lb Portable Astronomy Telescope
Sony IMX662 1/2.8-inch sensor
150mm focal length
EQ mode up to 90-second exposures
1.85 lb
360 degree pivot
Pros
- Tiny and light at 1.85 pounds for carrying to dark-sky sites
- Sony IMX662 sensor with large light-sensitive pixels for low noise
- 360 degree pivot centers targets hands-free
- EQ mode supports up to 90-second exposures
- Built-in light pollution filters and cloud stacking work in bright suburban skies
Cons
- Sensor resolution is too low for large photographic prints
- Not suitable for planetary imaging
- A fluid-head tripod and power bank are needed for longer EQ sessions
- Some owners report dust particles inside the lens so check the optics on arrival
Detailed owner write-ups describe stacked deep-sky results from bright suburban skies that they say rivals with larger, more expensive gear struggled to match. The reason is the sensor: the Sony IMX662 has unusually large pixels for a 1/2.8-inch chip, and large pixels are what translate faint light into usable signal.
The design goal is that none of the imaging decisions are exposed to you. You choose a target in the app and the unit handles the parts of the process that usually end a first attempt, which is a different proposition from assembling the same steps by hand on a laptop in the dark.
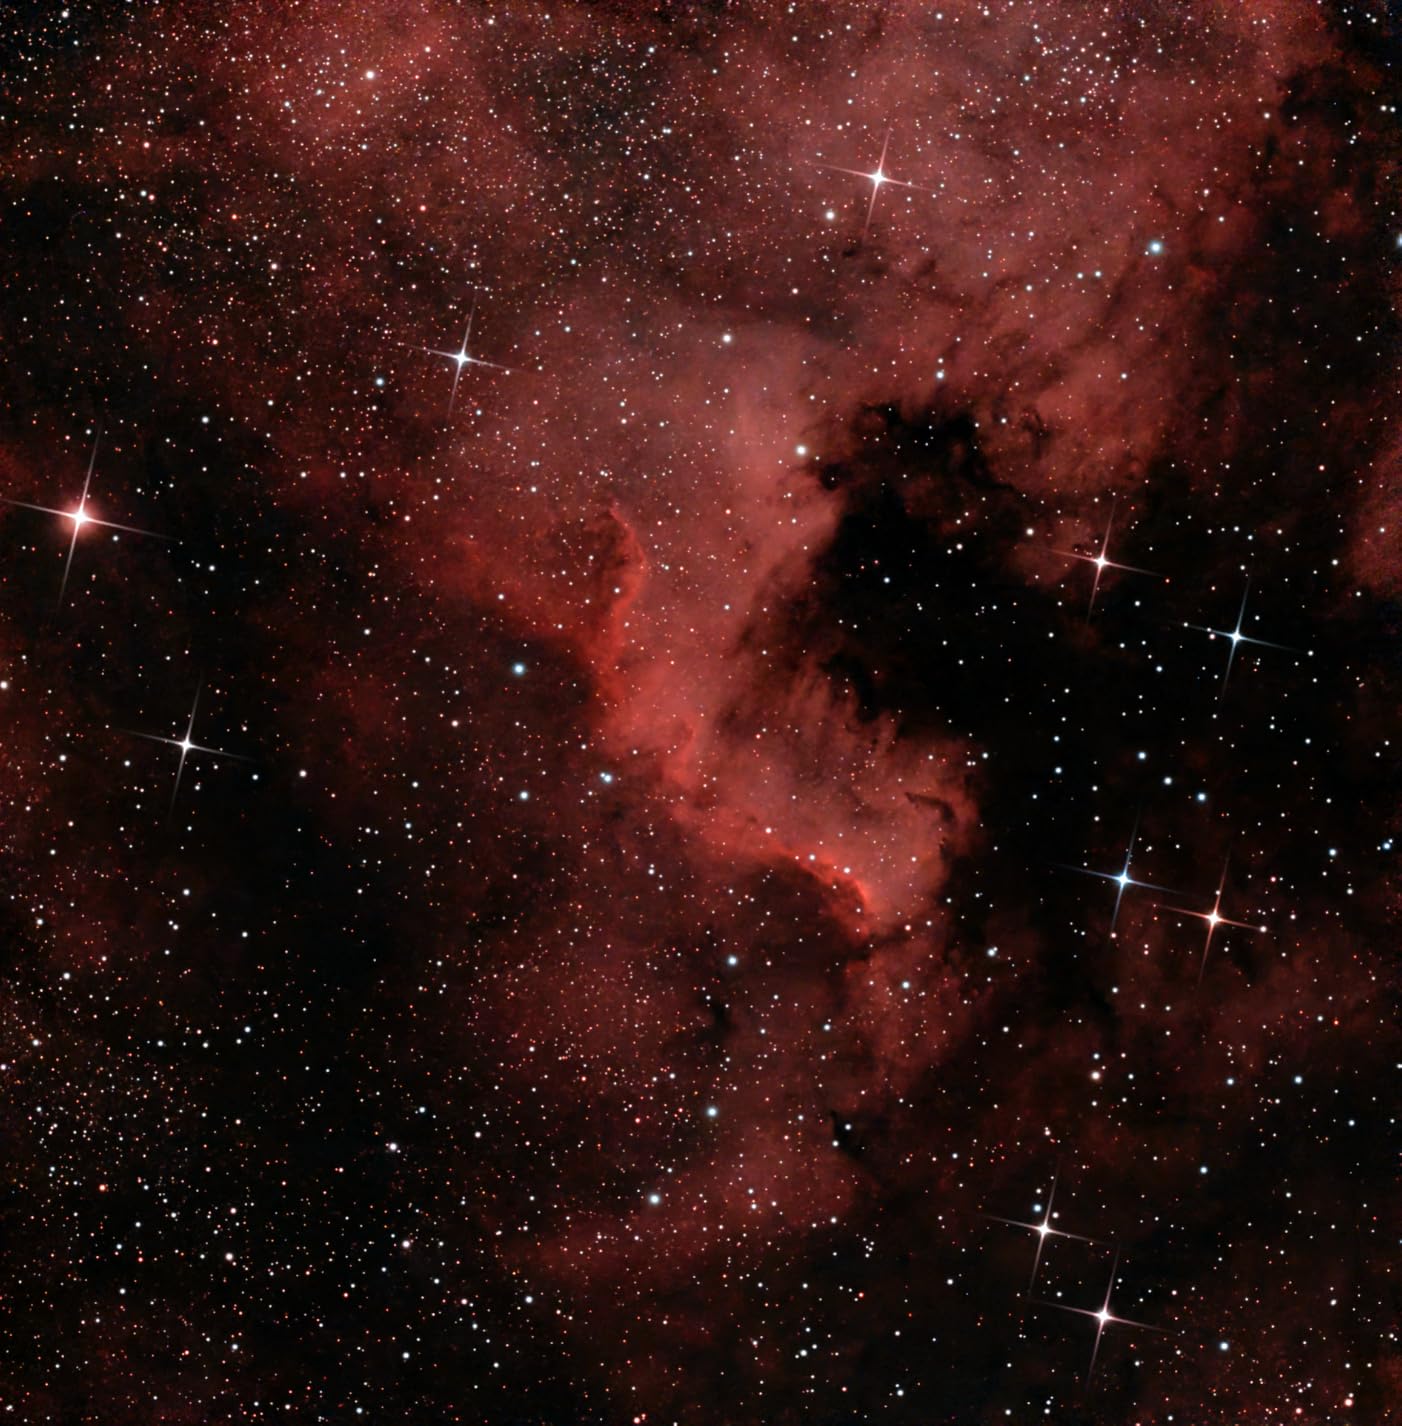
Plate solving, automatic dark frame calibration, in-device sub-frame stacking and guided equatorial polar alignment are all handled internally. That combination means real calibration frames get taken automatically, which is normally the step beginners abandon the hobby over.
The 360 degree pivot and automatic GOTO centre a target hands-free, and equatorial mode supports single-frame exposures of up to 90 seconds. Long exposures are where faint nebulae appear, so that number matters.
Best for: carrying the whole hobby on foot
At 1.85 pounds with a 150mm focal length and 2.45 degree field of view, it frames large nebulae and clusters well. Owners report that the built-in light pollution filters plus cloud stacking produce usable results even from bright skies.
For a beginner who wants to walk away from light pollution rather than fight it, portability is not a compromise here. It is the main advantage.
What you give up, and what to add
Sensor resolution is too low for large photographic prints, and the unit is not suitable for planetary imaging, where targets appear as small featureless discs. Mosaic mode also splits your available imaging time across separate tiles.
For longer equatorial sessions you need a fluid-head tripod and a power bank. Some owners have also reported dust particles inside the lens, so check the optics as soon as the box is open.
9. SVBONY SV305C Pro – The Best Telescope Camera for Planets
SVBONY SV305C Pro Telescope Camera, USB 3.0 High-Speed, 2MP IMX662 Sensor
2MP IMX662 CMOS sensor
1920x1080 at 107 fps
0.7e- readout noise
ST4 guiding port
USB 3.0
Pros
- IMX662 sensor with high sensitivity and 0.7e- readout noise
- 107 fps at 1920x1080 freezes fast planetary detail
- USB 3.0 transfers are far faster than USB 2.0
- 128MB DDR buffer prevents dropped frames on long runs
- ST4 interface makes it an excellent guide camera
- Works with NINA PHD2 SharpCap and ASCOM
Cons
- Requires a computer and free capture software so there is a learning curve
- 2MP sensor is not enough resolution for deep-sky imaging
- Some users report driver instability and lock-ups
- Hot pixels can appear at moderate gain
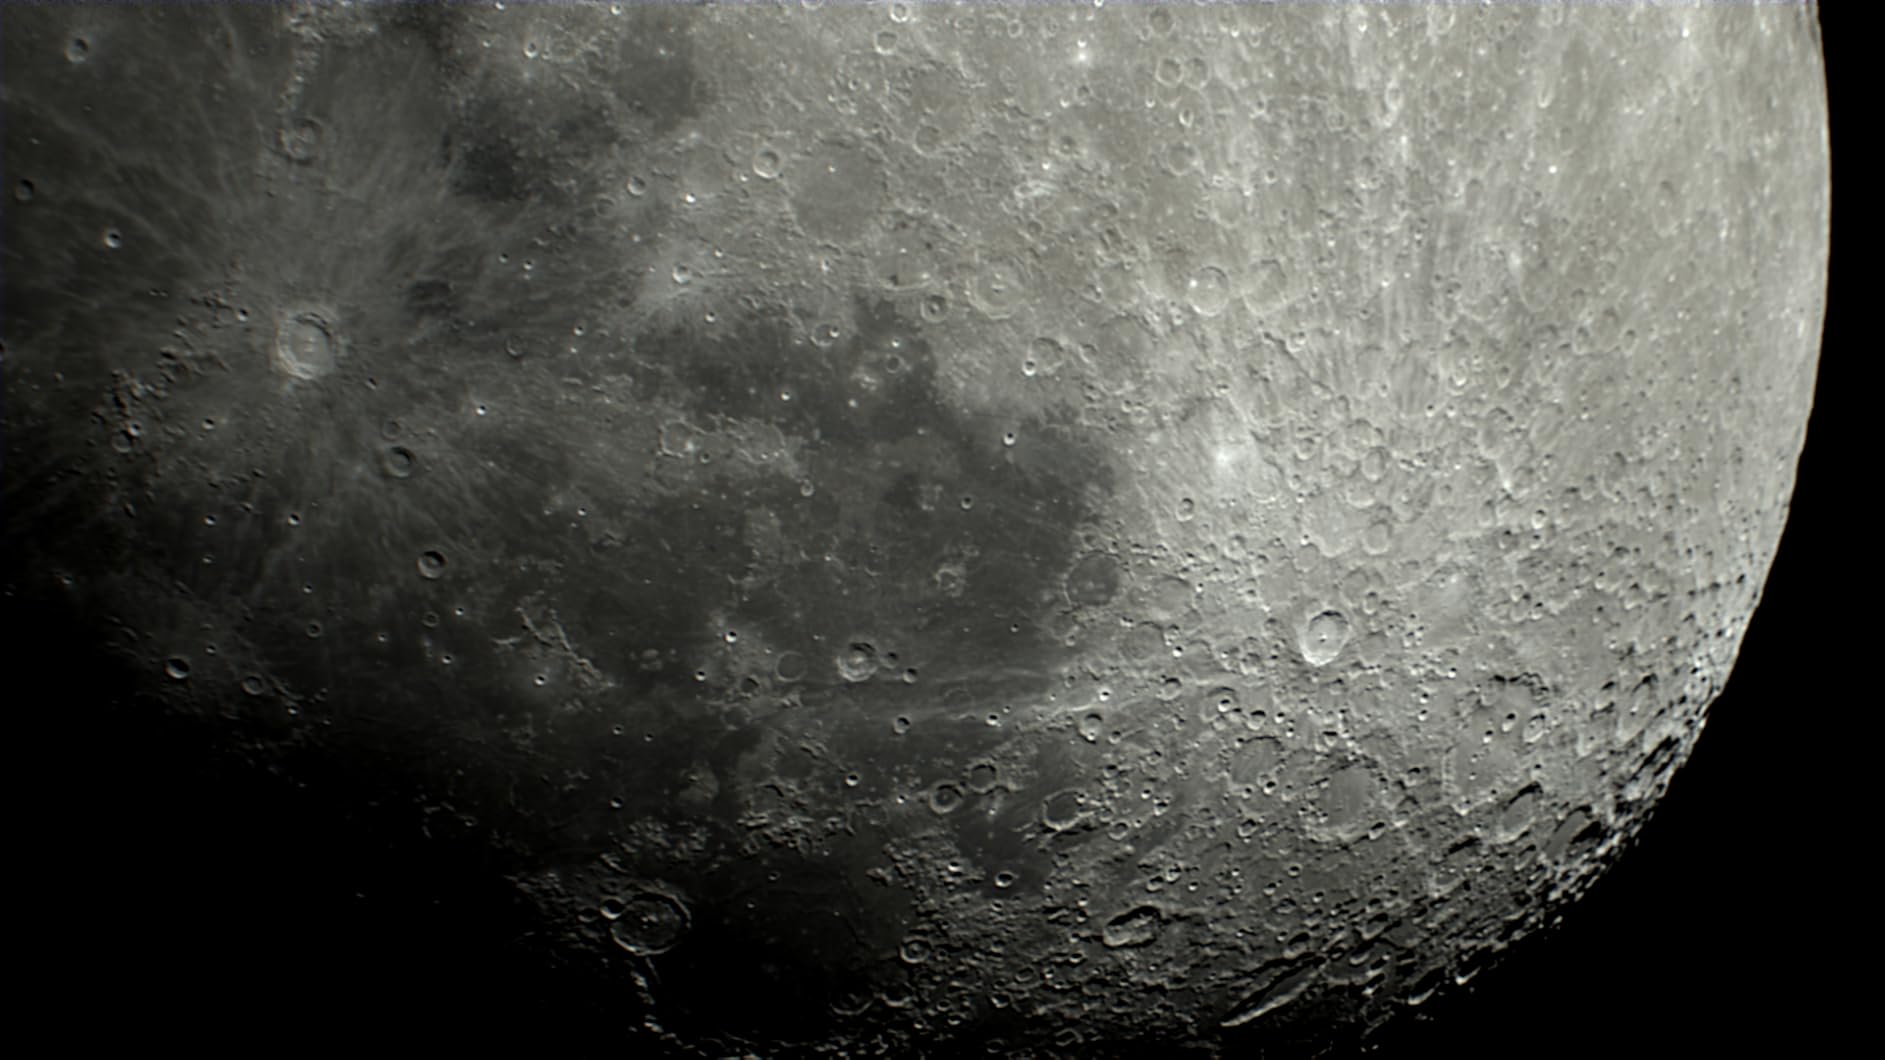
Planetary imaging inverts the priorities of everything else on this page. Jupiter’s cloud bands drift across the disc in minutes, so what you need is short exposures, a high frame rate and a sensor that stays quiet while you stack thousands of them.
The SV305C Pro delivers 1920×1080 at 107 fps on an IMX662 sensor with 0.7 electrons of readout noise. That readout figure is the important number, because at planetary frame rates the sensor noise competes directly with the faint detail you are trying to record.
The 128MB DDR buffer and USB 3.0 transfer at 5Gbps are what make long capture runs practical. Owners credit the upgrade from the standard model with eliminating the dropped frames that ruin a planetary session halfway through.
Most experienced users deploy this camera as a guide camera feeding PHD2 or NINA, reporting reliable guiding on larger scopes, and secondarily for planetary imaging at the native focal ratio or with a Barlow.
Best for: a telescope owner moving to imaging
If you already own a telescope, this is the piece that turns it into an imaging rig. The ST4 guiding interface and compatibility with PHD2 and ASCOM mean it works inside the standard capture and guiding software rather than beside it.
It carries a lifetime warranty on the camera, which is unusual at this level and worth noting if you plan to keep it for years.
Where it is the wrong tool
Two megapixels is not enough resolution for deep-sky imaging, so this is not a general-purpose astronomy camera. It also requires a computer and free capture software, which is a real learning curve for an absolute beginner.
A minority of users report driver instability and lock-ups in AstroDM or SharpCap, and hot pixels can appear at moderate gain. It can also disconnect when plugged into a powered USB hub, and iPad is not supported.
10. SVBONY SV105 – The Lowest-Commitment Way to Learn Planetary Capture
SVBONY SV105 Telescope Camera, 1.25″ IMX307 CMOS Color Eyepiece Camera
1.25 inch IMX307 colour sensor
1920x1080 up to 30 fps
USB 2.0
1.5 degree field of view
No driver setup
Pros
- Lowest commitment entry point into telescope astrophotography
- Plug and play with no drivers to install
- 1.25 inch threaded barrel fits almost any telescope directly
- Dark light compensation improves low-light clarity
- Real-time view transfers to a laptop for sharing
Cons
- Lower resolution and noisier sensor than the SV205 and SV305C Pro
- USB 2.0 limits transfer speed and frame rates
- Manual exposure only with no gain control for stacking
- Not compatible with iOS devices
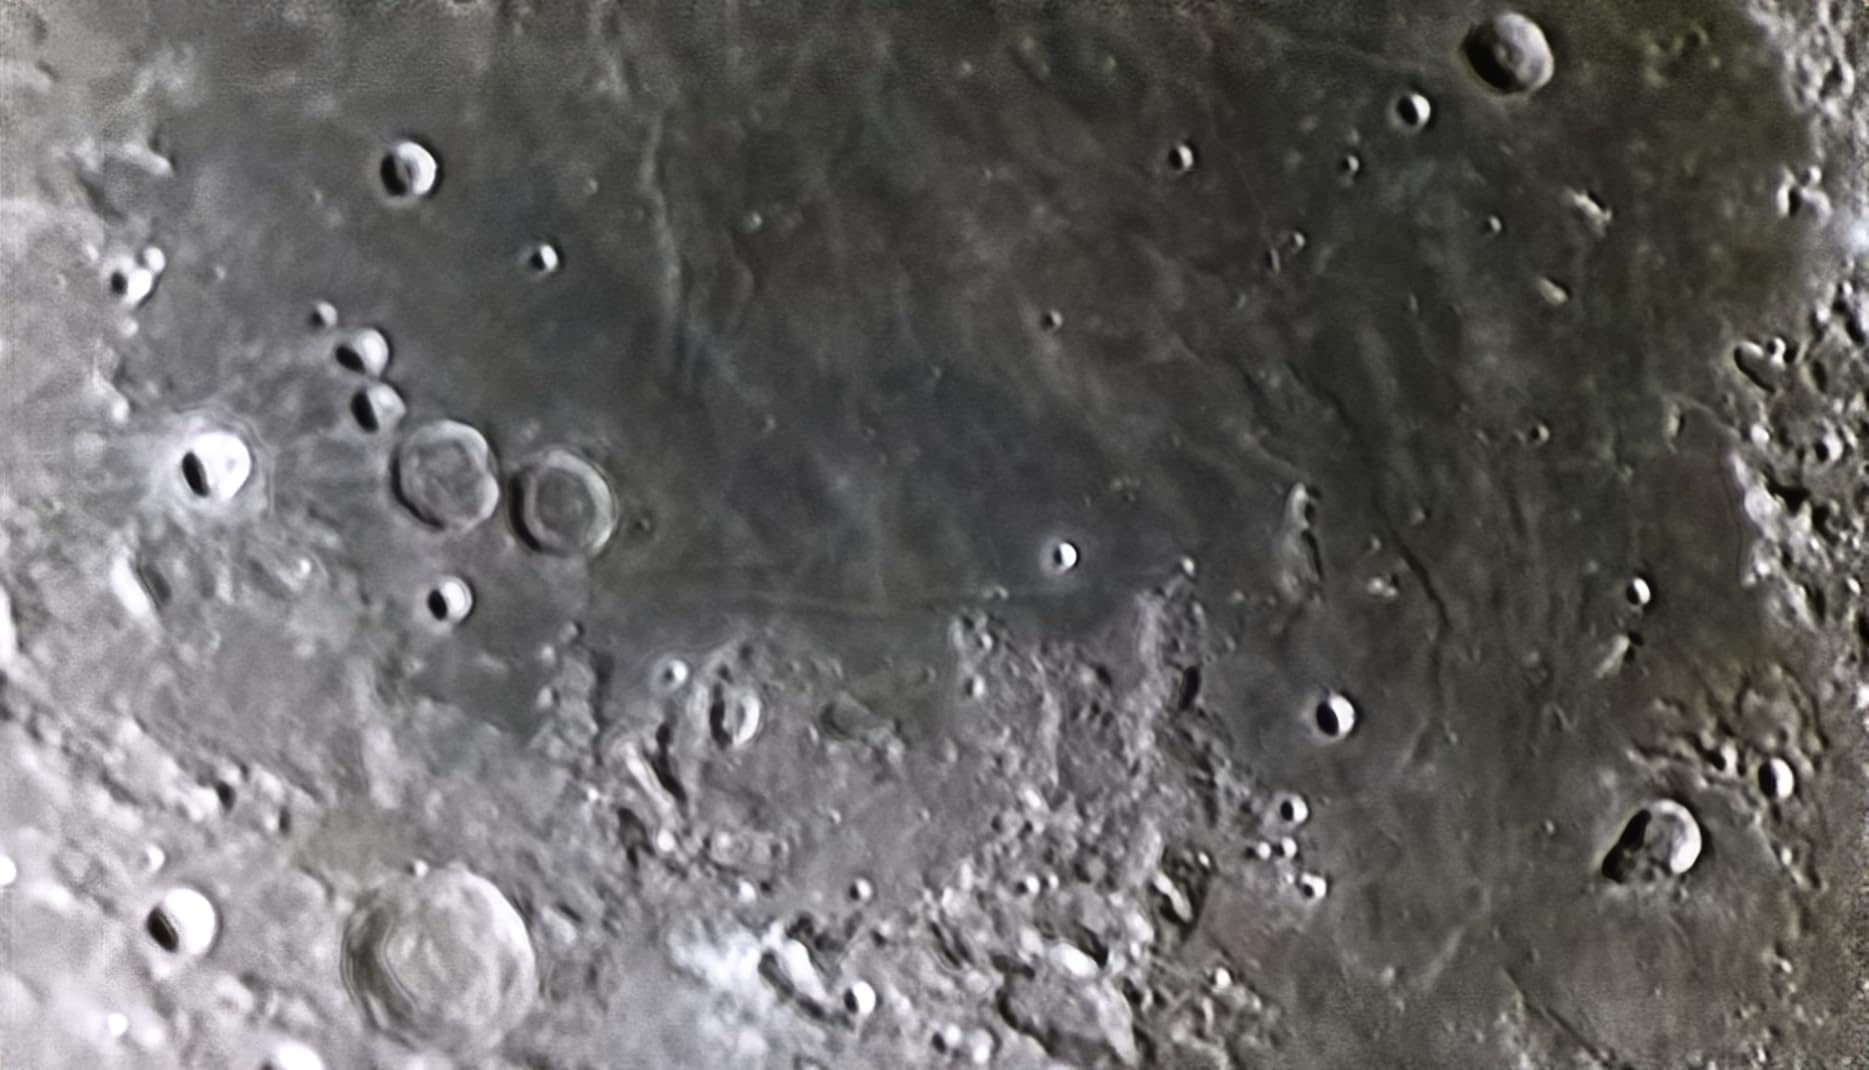
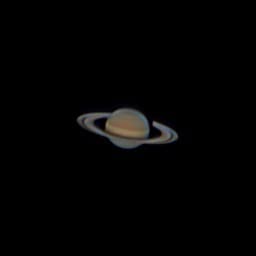
The SV105 is the smallest commitment in this roundup, and it exists for a specific job: letting you see a live view of the Moon or a planet on your laptop and capture your first frame. Owners use it exactly that way.
The 1.25 inch threaded barrel is the reason it works with almost anything. The M28.5×0.6 thread accepts telescope filters and fits guide scopes and focal reducers directly, with no adapter.
There is no driver to install. On Windows it works with SharpCap, on Linux with AstroDMx, and on Android with a USB camera app. macOS laptops are supported but iOS devices are not, so an iPad will not work here.
A 1.5 degree field of view frames the Moon and the larger planets comfortably, and dark light compensation technology helps the image stay readable in low light.
Best for: confirming you want to go further
Before committing to a camera ecosystem, plugging this into a friend telescope for an evening answers a real question cheaply. It is a good teaching tool, because you can see the image forming live as you adjust focus and exposure.
The plug-and-play setup also removes the barrier that stops most beginners, which is having to configure software before seeing anything at all.
Why you will upgrade beyond it
The 1/2.8-inch IMX307 sensor has lower resolution and more noise than the SV205 and the SV305C Pro, and USB 2.0 throughput limits both transfer speed and frame rates. Exposure is manual only, with no gain control worth relying on for stacking.
It captures 1080p with no video format flexibility. Treat it as a two-season learning tool rather than a system you will still be using in three years.
11. SVBONY SV205 – The Telescope Camera for Sharper Lunar and Planetary Frames
SVBONY SV205 Telescope Camera,1.25″ 7.05MP IMX415 Astrophotography Camera
7.05MP IMX415 colour sensor
1.45um pixels
30 fps at 1920x1080
1.25 inch machined barrel
9.6 oz
Pros
- 7.05MP IMX415 gives noticeably sharper lunar and planetary frames
- 1.45um pixels on a 1/2.8-inch sensor collect light well
- Plug and play with no driver installation
- USB 3.0 cable included for faster transfer
- Machined aluminum barrel threads directly onto almost any telescope
Cons
- USB 3.0 speeds drop when the host port or cable falls back to USB 2.0
- Manual exposure only
- Not compatible with iOS phones or tablets
- MJPG recording fills storage quickly at high resolution
The SV205 is the middle step in the SVBONY eyepiece range, and owners position it clearly: it gives visibly better detail than the SV105 while staying a modest step up. For most beginners who buy a telescope camera, this is the one to buy.
It records MJPG up to 30 fps at 1920×1080, and uncompressed YUV at 3264×2160 at 15 fps, which gives you the option of a larger still frame for the Moon.
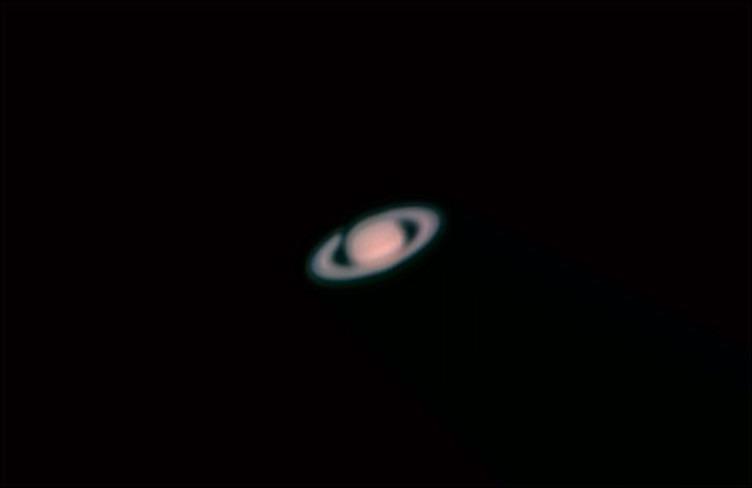
The 7.05MP IMX415 sensor uses 1.45um x 1.45um pixels on a 1/2.8-inch chip. Those are large pixels by compact standards, and larger pixels mean better signal-to-noise ratio in exactly the dim conditions you are shooting in.
At under ten ounces and roughly 6.29 inches long, it adds almost nothing to the payload of a telescope, which matters when you are balancing a mount.
Best for: a first serious telescope camera
The machined aluminum 1.25 inch barrel with a dust cover threads directly onto almost any telescope, and the included 1.2m USB 3.0 cable means you are not hunting for the right cable at midnight.
Dark light compensation technology improves low-light clarity, and the no-driver requirement means it works with AstroDMx on macOS, plus Windows, Linux and Android. It carries a lifetime warranty on the camera.
What to plan around
USB 3.0 speeds fall back to USB 2.0 levels when the host port or cable cannot sustain the transfer, and that silently reduces your frame rate mid-session. Check your port before you travel.
Exposure is manual only, and MJPG recording fills storage quickly at high resolution. iOS devices are not supported.
How to Choose an Astrophotography Camera: The Beginner Buying Guide
Every thread on this topic starts with the same confusion, which is that a camera is only one part of a system and beginners frequently conflate the camera budget with the whole rig. Decide what kind of pictures you want first, and the camera choice makes itself.
Sensor size beats megapixels for astro
Light gathering is the whole game. A larger sensor collects more photons per exposure, which means shorter exposures, lower ISO, less noise and less tracking error. That is why an APS-C body with a modest lens often produces cleaner nebula frames than a high-resolution body with a slow one.
This is also why megapixels matter less than most spec sheets imply. Extra resolution only helps if you have the signal to fill it, and at night you rarely do. Clean high ISO beats resolution every time.
RAW, manual mode and interval shooting are not optional
Capture in RAW, never JPEG. JPEG compression throws away exactly the faint gradient data that makes an astro image worth processing. A camera with no manual mode or no RAW output is a point-and-shoot, not an astrophotography camera, no matter what else it does.
Look for an intervalometer or a way to run a timed sequence. You will want thirty or more identical frames, and holding the shutter yourself guarantees a ruined set.
The 500 rule and the 400 rule
The 500 rule says divide 500 by the full-frame equivalent focal length to get the longest exposure before stars visibly trail. On a 24mm lens that gives roughly 20 seconds, and on a 50mm lens roughly 10 seconds, when shooting on a fixed tripod.
The 400 rule is the tighter modern variant, often applied as the rule of 400, for high-resolution sensors where trailing shows up sooner. If you own a 50mm f/1.8 on an APS-C body, its 80mm equivalent gives about 6 seconds by the 400 rule. Use these as starting points and shorten from there. On a star tracker the rule does not apply at all, because the mount is moving with the sky.
Cooled OSC, cooled mono and astro-modified bodies: when the jump is worth it
Three specialist categories exist, and almost none of them should be a first purchase. An uncooled astro camera is a small sensor on a USB connection, useful for guiding and planetary work. A cooled one-shot-colour camera runs the sensor cold to suppress its own heat signal, which drops noise dramatically on long integrations. A cooled monochrome camera drops colour data and requires narrowband filters to produce colour, giving maximum sensitivity in exchange for far more complexity.
An astro-modified body is the fourth option, and it is a different idea entirely. A modification replaces or bypasses the internal UV and infrared cut filter, which transmits more hydrogen-alpha light. That is why hydrogen-alpha transmission is the technical reason one camera suits astro better than another, and why modified bodies produce noticeably stronger nebula colour. A modification keeps your LCD, your buttons and your auto modes, which is exactly why a modified camera is often the better first upgrade over a cooled one.
My advice: stay with a general-purpose mirrorless body until you have a finished tracked image and a specific complaint. A cooled camera is the answer to a problem you do not have yet.
Planetary versus deep-sky cameras are different buys
Planetary imaging wants short exposures and high frame rate, because the target is bright, high contrast and moving fast. Deep-sky imaging wants long exposures and low noise, because the target is faint and effectively stationary. A camera chosen for one is a poor fit for the other.
The eyepiece cameras in this roundup, including the SV105, the SV205 and the SV305C Pro, are built for the planetary end. The mirrorless bodies are built for the deep-sky end. The smart telescopes sit in the middle, and the largest ones explicitly do not target planets.
A budget ladder for the whole hobby, not just the camera
Spend in this order and you will not regret it. First, the body and a fast lens. Second, a star tracker, which does more for image quality than any camera upgrade. Third, a tripod that will not vibrate. Only then consider a telescope, guiding equipment, and filters, which are the items most beginners buy far too early.
Mount matters more than camera or telescope, and that is the single most repeated piece of advice in the forums. A camera on a good mount produces frames you can stack. A great camera on a shaky mount produces nothing. If you want the same use-what-you-own principle applied to other entry-level hobbies, our [beginner aquarium guide](https://apimondia2023.com/best-aquariums-for-beginners/) makes the same argument in a different corner of the shop, and if the reason you want a camera is actually to take pictures on the trail, the [game camera roundup](https://apimondia2023.com/best-game-cameras/) covers that requirement set instead.
Buying a used astro camera: what to check
Used DSLR bodies are the most-endorsed entry route in every beginner thread, so here is a checklist. Ask for the shutter count and compare it against the age of the body. Inspect the sensor in full daylight at maximum aperture for fungus, which appears as soft dark patches and does not clean off. Run a dithering test in live view to catch dying pixels and shutter faults.
Check battery health by taking a full charge, then test every dial, button and card slot. Ask whether the box, charger and original accessories are included, and confirm the sensor has not been modified without telling you, since a cut filter changes what you can photograph. Finally, remember the star-eater problem, where some kit lenses block hydrogen-alpha and mute nebula colour. There are workarounds, but you should know before you buy.
What not to buy yet
Do not buy filters, a field flattener, a coma corrector, a guiding setup, or a cooled astronomy camera in your first month. Do not buy an expensive mount before you have shot a single tracked frame. And do not buy a high-resolution body when your real gap is a fast lens.
The most common beginner mistake is spending the entire budget on the camera and then discovering they cannot point a tripod at anything without the legs shaking. Weight every purchase against the whole rig, not the box it came in.
Sample starting settings for your first night
Start in manual or bulb mode with RAW capture. Set ISO between 800 and 1600, pick the fastest aperture your lens offers, and set the shutter speed from the 500 rule for your focal length. Shoot twenty to thirty frames of the same target back to back without touching the tripod.
Stack those frames in any stacking tool and the sky background drops away. That single step is where beginners discover why astrophotography rewards patience, and it costs nothing beyond time you were going to spend outside anyway.
Frequently Asked Questions
What is a good astrophotography camera to start with?
A good astrophotography camera to start with is any camera with manual exposure, RAW capture, and a sensor that stays reasonably clean at ISO 800 to 3200. For most beginners that means a recent APS-C mirrorless body with a fast prime lens, a used DSLR, or an app-controlled smart telescope if you want a finished image without a computer.
What is the 500 rule for astrophotography?
The 500 rule says divide 500 by the full-frame equivalent focal length of your lens to find the longest exposure before stars visibly trail on a fixed tripod. A 24mm lens gives about 20 seconds and a 50mm lens about 10 seconds. It does not apply when you are using a star tracker, because the mount follows the sky.
Is astrophotography an expensive hobby?
It can be, but the entry point is far lower than most people expect. A used DSLR with a kit lens, a tripod and a wide lens gets you shooting untracked Milky Way images immediately. Most of the expensive equipment, including cooled astronomy cameras, filters and guiding gear, is optional for the first year.
Can I do astrophotography with a smartphone?
Yes, and it is a reasonable way to find out whether you enjoy night photography. Modern phones handle manual exposure, RAW capture and stacking apps well enough for a decent Milky Way or star-trail frame. The limit is aperture and sensor size, so a phone will not match an interchangeable-lens body on faint deep-sky targets.
Is a DSLR or mirrorless better for astrophotography?
For a first astrophotography camera, a mirrorless body is the better buy. Most DSLRs are built around optical viewfinders with mirrors that block the sensor, which makes live view and focus accuracy slower for night work. A mirrorless body gives you electronic live view, focus magnification, silent shooting and wider manual control, and it also shoots better video.
Should I buy a cooled astronomy camera as a beginner?
Usually not. A cooled camera reduces sensor heat, which lowers noise on long integrations, but it also requires a computer, capture software and a learning curve before you get any image. Start with a mirrorless body, learn polar alignment and stacking, and upgrade only once a specific limitation is blocking you.
Final Verdict
Start with the Sony Alpha ZV-E10 if you want one camera that handles the night sky and everything else you shoot. The 24.2MP APS-C sensor is the right size for beginners, the 14-bit RAW files stack cleanly, and the tilting screen removes a frustration you would otherwise hit on every field trip. The Canon EOS M50 Mark II is the most beginner-friendly of the group, and the Canon R100 bundle is the complete-kit option because it includes the f/1.8 prime you would otherwise save for months.
If light pollution is your problem, skip the mirrorless bodies entirely and buy a smart telescope. The ZWO Seestar S30 Pro and the DWARFLAB Dwarf Mini both put stacked nebula images in your hands from a suburban garden.
Whichever route you take in 2026, the order of operations is the same: body and fast lens, then a star tracker, then everything else. The best astrophotography cameras for beginners is simply whichever one you will actually take outside on a clear night.