
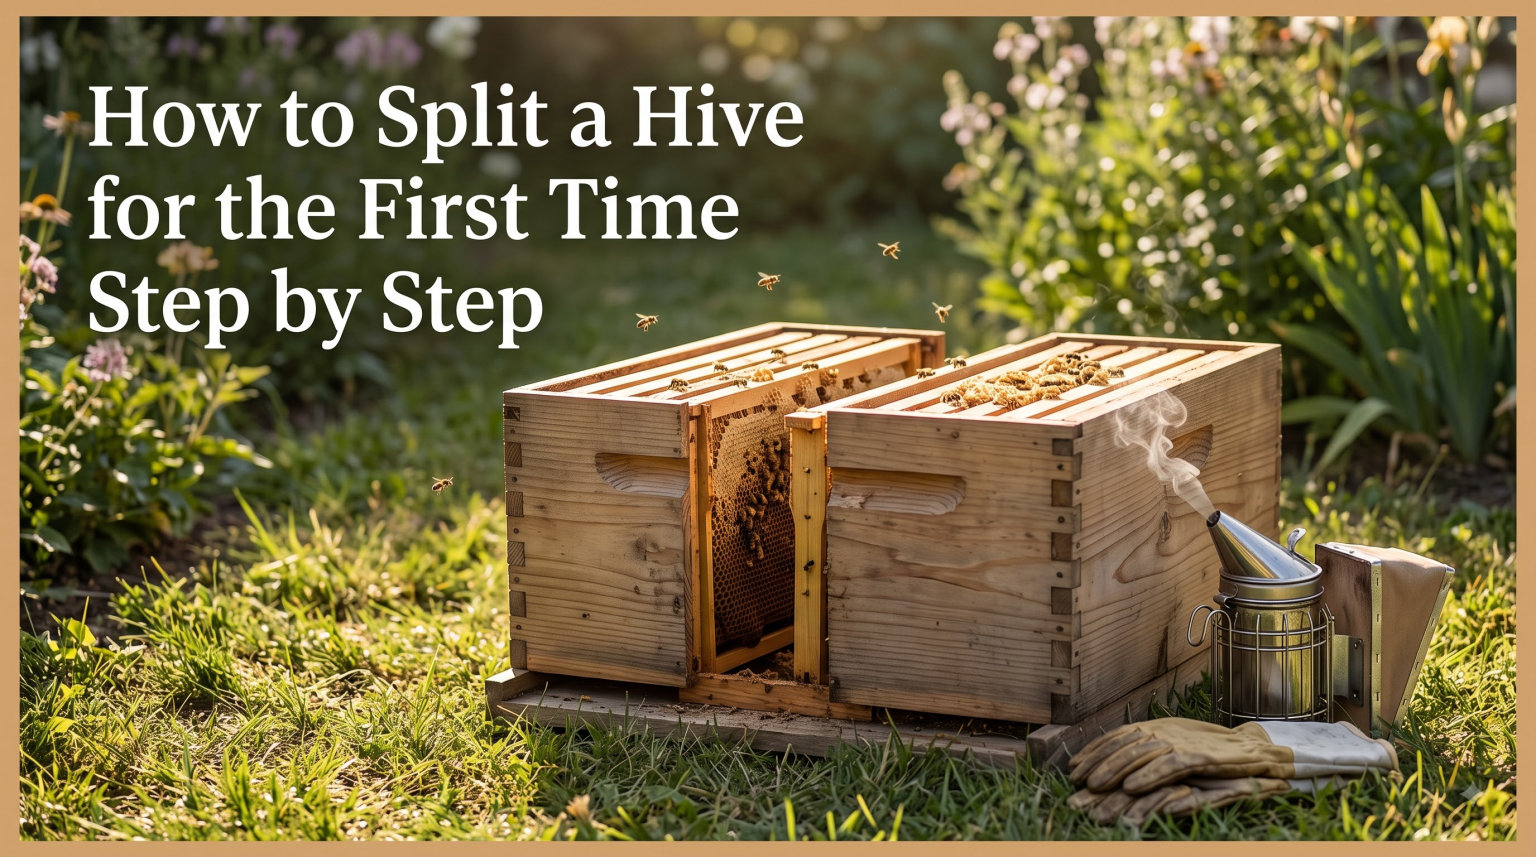
If you have ever stood in front of a booming spring hive, lifted the lid, and felt a jolt of panic at the sheer number of bees pouring over the frames, you are in the right place. Splitting a hive is one of those beekeeping skills that sounds terrifying in theory and turns out to be mostly logistics once you have done it. I made my first split on a warm April afternoon three years ago, hands shaking, queen nowhere in sight, and both hives ended up thriving. This guide is the exact walkthrough I wish I had read the night before.
Below you will find a complete, plain-English walkthrough of how to split a hive for the first time step by step. We will cover timing, equipment, both common methods, how to handle the queen question, and what to do in the weeks after. Whether you run one backyard colony or twelve, this process works the same way.
Table of Contents
What Is Splitting a Hive and Why Beekeepers Do It
Splitting a hive (also called making a split, doing a divide, or creating a nuc) is the act of taking frames of brood, honey, pollen, and adult bees out of a strong colony and putting them into a second hive box. You end up with two colonies where you once had one. Either the original queen goes with the new box, or the original hive raises a brand-new queen from eggs the bees already laid.
Beekeepers split hives for four main reasons, and most beginners discover they want to do it during their second spring. The first reason is swarm prevention. A crowded colony will swarm once it reaches about 80% capacity, and once a prime swarm leaves your apiary, you have lost roughly half your bees and a good portion of your honey crop for the year. The second reason is colony increase. Every split doubles (or near-doubles) your hive count, which is the cheapest way to grow an apiary. The third reason is Varroa mite management, since interrupting the brood cycle disrupts the mites’ reproductive cycle. The fourth reason is recovery. Splits replace winter losses without the cost of buying package bees.
Splits are also one of the most rewarding parts of beekeeping. Watching a queenless box of bees draw queen cells, raise a healthy queen, get her mated, and start laying eggs is a small miracle that never gets old.
When to Split a Hive: Timing and Warning Signs
The best time to split a hive is in spring when the colony is strong, drones are flying, and a nectar flow is on or just beginning. For most of the Northern Hemisphere, that means mid-April through early June. For warmer southern climates, the window opens earlier, sometimes in late February.
Your hive is ready to split when it meets most of these signs at once. Look for a deep box that is at least 80% full of bees with brood on six or more frames. You should see drones walking on the comb (drones signal that the colony believes conditions are right for raising queens). You should see capped honey and pollen in the outer frames. Finally, look along the bottom bars of frames for queen cups or early swarm cells. If you only see dry cups, the colony is preparing but not committed. If you see real swarm cells with royal jelly inside, you should split immediately or risk losing a swarm within days.
A common first-year question is whether you can split a first-year hive. The honest answer is usually no. A package or nuc installed in spring needs its first full season to build comb, store honey, and raise a strong population. Splitting a first-year hive usually sets both halves back so badly that neither produces surplus honey. Wait until the colony has successfully overwintered once before making your first split. That second-spring hive is the right candidate.
How late is too late to split? Once you are within about 8 weeks of your first frost date, the window closes. A new queen needs roughly 4 weeks to emerge, mate, and start laying, and her daughter workers need another 3 to 4 weeks to build a cluster strong enough to survive winter. If you cannot complete that timeline, save the split for next year.
Equipment Checklist for Splitting a Beehive
Before you open a hive for a split, gather every piece of equipment and line it up beside the apiary. Most failed first splits come from scrambling mid-inspection for a tool that is back at the truck. Here is what you need on hand.
A complete second hive: bottom board, deep brood box (or a 5-frame nuc box), inner cover, and telescoping cover.
Frames with foundation or drawn comb to fill the empty spaces in both hives. Aim for 10 frames per deep box or 5 frames per nuc.
Your smoker, hive tool, and bee brush or feather.
A queen excluder, in case you decide to isolate the queen on a specific frame.
Entrance reducers for both hives to help small populations defend their new homes.
1:1 sugar syrup in a frame feeder, jar feeder, or bucket feeder. New splits almost always need feeding.
A frame grip or extra pair of hands for moving heavy brood frames safely.
A veil and full protective gear, even if you normally work gloveless. Slow, careful movements beat speed on a first split.
Many beekeepers also place a sheet of plywood, a moving strap, or a piece of cardboard over the original hive’s entrance during the split. Foragers leaving for a split return to the original location by default, so you can choose to move the original hive a few feet away and put the new split in the old spot, or vice versa. Either approach reduces the drift of returning foragers into one box.
Two Main Methods: Walkaway Split vs. Swarm-Control Split
There are several ways to make a split, but almost every beginner uses one of two methods. Picking the right one for your situation saves time and avoids headaches later.
A walkaway split is the simplest method and the one most beginners should start with. You take frames of brood, honey, pollen, and nurse bees out of the parent hive and place them into a new box with no queen at all. The bees in the new box will recognize they are queenless, select young larvae, and raise a new queen from scratch. You then walk away and let them do it. The catch is that you must trust the process, and you should check both hives about 4 weeks later to confirm a laying queen.
A swarm-control split uses existing queen cells the colony has already built. If your hive is loaded with capped swarm cells along the bottom of frames, you cut several of those cells out and attach them to frames inside your new nuc box along with brood, honey, and nurse bees. This jump-starts the new colony with queen cells already in progress and is the easiest way to prevent an imminent swarm. The risk is that swarm cells sometimes turn out to be duds, so you still need to verify a laying queen a month later.
If you want to keep both options open, you can always do a walkaway split first, then check the parent hive a week later. If you see the parent hive has drawn emergency queen cells, leave them alone. If the parent has no cells at all, you can transfer a frame with eggs from the new box back to the parent so it can try again. That kind of flexibility is part of why walkaway splits are so popular.
How to Split a Hive for the First Time Step by Step (Walkaway Method)
Choose a warm, calm afternoon with light wind and bees flying well. Aim for a daytime temperature of at least 60 F (15 C). Open the parent hive slowly, use your smoker sparingly, and work frame by frame. The whole split should take 20 to 40 minutes.
Light your smoker and put on your veil. Approach the hive from the side or back to stay out of the flight path.
Remove the outer cover and inner cover. Set them aside on an upturned lid or the ground, not on the grass where bees will get stuck in dew.
Find the queen or, more realistically, confirm she is laying. You do not have to spot her for a walkaway split. Eggs standing upright in the bottom of cells are proof she was there within the last three days.
Identify frames to move. Pick 3 frames of brood at all stages (eggs, larvae, capped brood), 1 frame of honey, 1 frame of pollen, and 1 frame of mostly empty drawn comb. Shake or brush an extra cluster of nurse bees from a brood frame into the new box.
Place the chosen frames into the new hive in the same order: brood in the middle, honey and pollen on the outsides. Fill remaining slots with foundation or drawn comb.
Add an entrance reducer to the new hive. A small opening helps a small bee population defend against robber bees and yellowjackets.
Close the new hive and place it in its final location. Either set it where the parent was (to catch returning foragers) or move it at least 3 miles away for 24 hours if you want a more even bee distribution.
Return to the parent hive and reduce empty space by adding frames of foundation or drawn comb in place of the moved frames.
Feed both hives with 1:1 sugar syrup. New colonies with no foragers and few stores need supplemental feeding to draw comb and feed brood.
Close both hives, log the date, and walk away. Your real work starts in 4 weeks.
A common beginner move is to grab frames from the brood nest too quickly. Slow down. Hold each frame over the open hive while you check it, so a dropped queen or shaken bees fall back into a box and not onto the ground. Most splits go sideways because of rushed frame work.
How to Do a Swarm-Control Split Step by Step
A swarm-control split is best when you have already spotted capped swarm cells on the bottom of frames and want to act before the colony actually swarms. This method is faster than a walkaway split and uses cells the bees have already committed to.
Open the parent hive and locate frames with queen cells. Look along the bottom bars and edges of brood frames.
Choose 2 to 3 frames with the largest, most uniform cells. Avoid small or oddly shaped cells, which can sometimes be supersedure cells rather than swarm cells.
Transfer these frames, plus 2 frames of brood in other stages, 1 frame of honey, and 1 frame of pollen, into the new nuc box. Make sure each queen cell frame also has plenty of attached nurse bees.
Leave at least 2 healthy queen cells in the parent hive so it can requeen as well, or move all the cells out and let the parent raise emergency cells from young larvae.
Close the nuc, install an entrance reducer, and feed 1:1 syrup. Place the nuc where the parent was so returning foragers boost its population.
Check both hives in about 7 to 10 days. You should see capped queen cells turning darker as the pupae develop.
Confirm a laying queen in about 4 weeks by spotting eggs or a freshly mated queen.
The downside of swarm cells is that the parent colony may continue trying to swarm if you leave multiple cells behind. Cutting out all but one or two cells and destroying any additional swarm cells on subsequent inspections keeps the parent focused on its remaining queen cell rather than casting additional swarms.
How to Find (or Skip Finding) the Queen During a Split
You do not need to find the queen to make a walkaway split, and that single sentence is what saves most first-timers. As long as eggs are present in either the parent hive or the new box, the colony has what it needs to raise a queen if she is missing. Eggs confirm the queen was alive within the last 3 days.
If you do want to find the queen, work methodically. Place each frame back into the parent hive after you inspect it. Hold frames over the open box so any queen falls onto frames, not the ground. Look for a bee that is longer than the workers, with a tapered abdomen and shorter wings that do not reach the end of her body. She often moves quickly across the comb and avoids light, so scan the dark areas first. Marking your queen with a dot of paint the season before makes finding her dramatically easier.
If you have never spotted a queen and the colony is calm, consider doing your first split without searching for her. The risk of injuring her during a clumsy first inspection is higher than the benefit of seeing her. Instead, ensure eggs are in the parent box (so they can raise a queen if needed) and eggs are in the new box (so they are not queenless if she accidentally ends up there).
For swarm-control splits, finding the queen is more important. Cut the cells out of frames she is on to avoid accidentally transferring her with the cells. Place those frames in the parent hive. Once the swarm cells are isolated in the new nuc without the queen, the nuc will commit to the new cells.
Post-Split Timeline: Day 1 Through Day 45+
Below is a typical timeline for a walkaway split using a single mated queen raised from eggs the bees select. Timing varies by 5 to 7 days depending on temperature and bee stock, but the milestones hold steady.
| Day | What is happening | What you should do |
|---|---|---|
| Day 0 (split day) | Frames moved, no queen in new box, no brood yet | Feed 1:1 syrup, reduce entrance, do not inspect for 7 days |
| Day 3 to 5 | Bees identify queenlessness, start drawing queen cells from young larvae | Watch entrance activity, refill feeders, do not open the hive |
| Day 8 to 10 | Capped queen cells visible on frame bottoms | Optional inspection to confirm cells are present and capped |
| Day 12 to 14 | Virgin queens emerge from cells | Stop inspections to avoid disturbing orientation flights |
| Day 18 to 24 | Mating flights on warm afternoons | Watch the entrance for returning queens, no inspection needed |
| Day 28 to 32 | New queen should be laying eggs | Open the hive, look for eggs, larvae, and a small brood pattern |
| Day 35 to 45 | Brood pattern expanding, population climbing | Continue feeding until two deep boxes of brood and stores develop |
| Day 45+ | Colony on track for winter | Stop feeding syrup, switch to mite checks and winter prep |
The 4-week mark is the most important checkpoint. If you see eggs or fresh larvae at 28 days, the split worked. If you see no eggs and no queen at 4 weeks, you need to act.
Post-Split Care: Feeding, Monitoring, and When to Intervene
New splits benefit from continuous 1:1 sugar syrup feeding for the first 4 to 6 weeks. The sugar water fuels wax production, brood rearing, and queen acceptance. Once the bees stop taking syrup readily and start storing nectar, you can taper off. In a strong spring flow, you may only need to feed for 2 to 3 weeks. In a dearth, feed until late summer.
Monitor both colonies weekly with brief external observations. A healthy split has steady entrance traffic, bees bringing in pollen, and guard bees at the door. An unhealthy split has no flight activity, no pollen, and bees fighting at the entrance (a sign of robbing).
Knowing when to intervene is the hardest part. Do nothing until day 28 unless the colony is being robbed or has clearly absconded. After day 28, check for eggs. If you find eggs, leave the colony alone for another 2 weeks. If you find no eggs and no queen, give the colony one more frame of eggs from a healthy donor hive. They will try again.
If both halves of your split end up queenless at day 35, your best move is to combine them. Place a sheet of newspaper between the two boxes, add a few slits, and stack one on top of the other. The bees will chew through, unify slowly, and accept whichever queen one of them eventually raises, or you can introduce a purchased mated queen to the combined hive.
Common Mistakes First-Timers Make When Splitting a Hive
The same handful of mistakes show up in nearly every failed first split. Knowing them in advance saves you a season.
Splitting too small. Taking only 1 frame of brood leaves the new colony without enough nurse bees to keep larvae warm. Aim for at least 3 frames of brood in all stages.
Splitting too late in the season. Once your window closes, both hives may starve before winter. If in doubt, do not split.
Forgetting to feed. New colonies with no foragers and few stores need supplemental syrup. Skipping this is the most common cause of absconding.
Using too much smoke on a calm day. Heavy smoke drives bees deep, which can leave the new split underpopulated. Use one or two puffs at the entrance and along the top bars only.
Leaving the entrance wide open. Robbing pressure on a small colony can wipe it out in 48 hours. Always use an entrance reducer.
Inspecting too often. Opening the new box every few days sets the bees back and may cause them to reject the queen cell.
Panicking when both hives look queenless at day 14. They almost always have not yet had time to emerge and mate. Wait until day 28 before intervening.
If you can avoid those seven mistakes, your split will very likely succeed. Most first-timers who lose splits do so from one of those causes, not from bad luck.
Climate and Regional Considerations
Your climate zone changes both the timing and the urgency of a split. In warm southern regions (US Zones 8 to 10), colonies build up fast in late winter, swarm cells can appear by late February, and you can split earlier than the rest of the country. In northern regions (US Zones 3 to 6), wait until you see strong foraging, drones flying, and fruit trees in bloom, usually late April to mid-May.
In coastal or humid climates, watch for chalkbrood and small hive beetle in your splits. Smaller colonies are more vulnerable to both. In dry or hot climates, water access near the apiary becomes critical for a small split to regulate hive temperature.
If you live in a region with a short summer, err on the side of earlier splits and smaller numbers. One strong split in early May beats two weak ones in mid-June. If you live in a region with a long, warm fall, you can comfortably split into July and still give the new colony time to build up.
First-Timer Anxiety: What to Expect and How to Stay Calm
Most first-timers worry that they will hurt the queen, drop a frame of brood, or cause the bees to abscond. Those are normal fears, and the reality is gentler than the fear. Bees tolerate slow, deliberate handling extremely well. The smoke does most of the work for you. Move frames at the pace of a calm conversation, not a rushed one.
Before your first split, consider watching a few video walkthroughs and ideally working alongside a mentor for even 30 minutes. Mentors shorten the learning curve by years. Reading online forum posts on Beekeeping subreddit, Beesource, or your local beekeeping association page in the days before can also prepare you for the small surprises (a queen on the wrong frame, a sudden rain shower, a half-built swarm cell you did not expect).
If something goes wrong during your first split, the bees recover more often than you would guess. A bumped frame, a missed queen, a smashed queen cell, all of these are recoverable mistakes. Keep a journal, write down what you did, and review it next spring. Your second split will be twice as fast and three times as calm.
FAQs
What is the easiest way to split a hive?
The easiest way to split a hive is the walkaway method. Move 3 frames of brood in all stages, 1 frame of honey, 1 frame of pollen, and a cluster of nurse bees into a new hive box with no queen. Feed 1:1 sugar syrup, install an entrance reducer, and wait 4 weeks for the bees to raise a new queen from the eggs you transferred.
Can I split a first year hive?
Splitting a first-year hive is not recommended. A package or nuc installed in spring needs its first full season to draw comb, build a strong population, and store honey. Wait until the colony has successfully overwintered once before making your first split. A second-spring colony is the ideal candidate.
Can I split a hive without finding the queen?
Yes. A walkaway split does not require you to find the queen. As long as eggs are present in either the parent hive or the new box, the colony can raise a new queen if needed. Eggs standing upright in cell bottoms confirm a laying queen was present within the last 3 days.
How late is too late to split a hive?
Once you are within about 8 weeks of your first frost date, the window closes. A new queen needs roughly 4 weeks to emerge, mate, and begin laying, and her daughter workers need another 3 to 4 weeks to build a winter-ready cluster. If you cannot complete that timeline, wait until next spring.
Final Thoughts: Your First Hive Split
Learning how to split a hive for the first time step by step is one of the most useful skills you can add to your beekeeping practice. It saves you from swarms, doubles your hive count for free, and gives you a deeper understanding of how a colony actually works. The mechanics are simple once you walk through them once: pick the right day, gather your equipment, move frames deliberately, feed both hives, and wait. The bees do the rest.
When you do make your first split, take your time, log the date, and check back at the 4-week mark. You will likely find eggs, a mated queen, and the unmistakable hum of a healthy new colony. From that moment on, every spring split gets easier, and your apiary gets stronger.
Save this guide for your next spring inspection, share it with a fellow beekeeper who is about to take the plunge, and remember that every experienced beekeeper reading this article right now once stood in front of their first split with shaking hands and a notebook full of questions. You will be fine.