
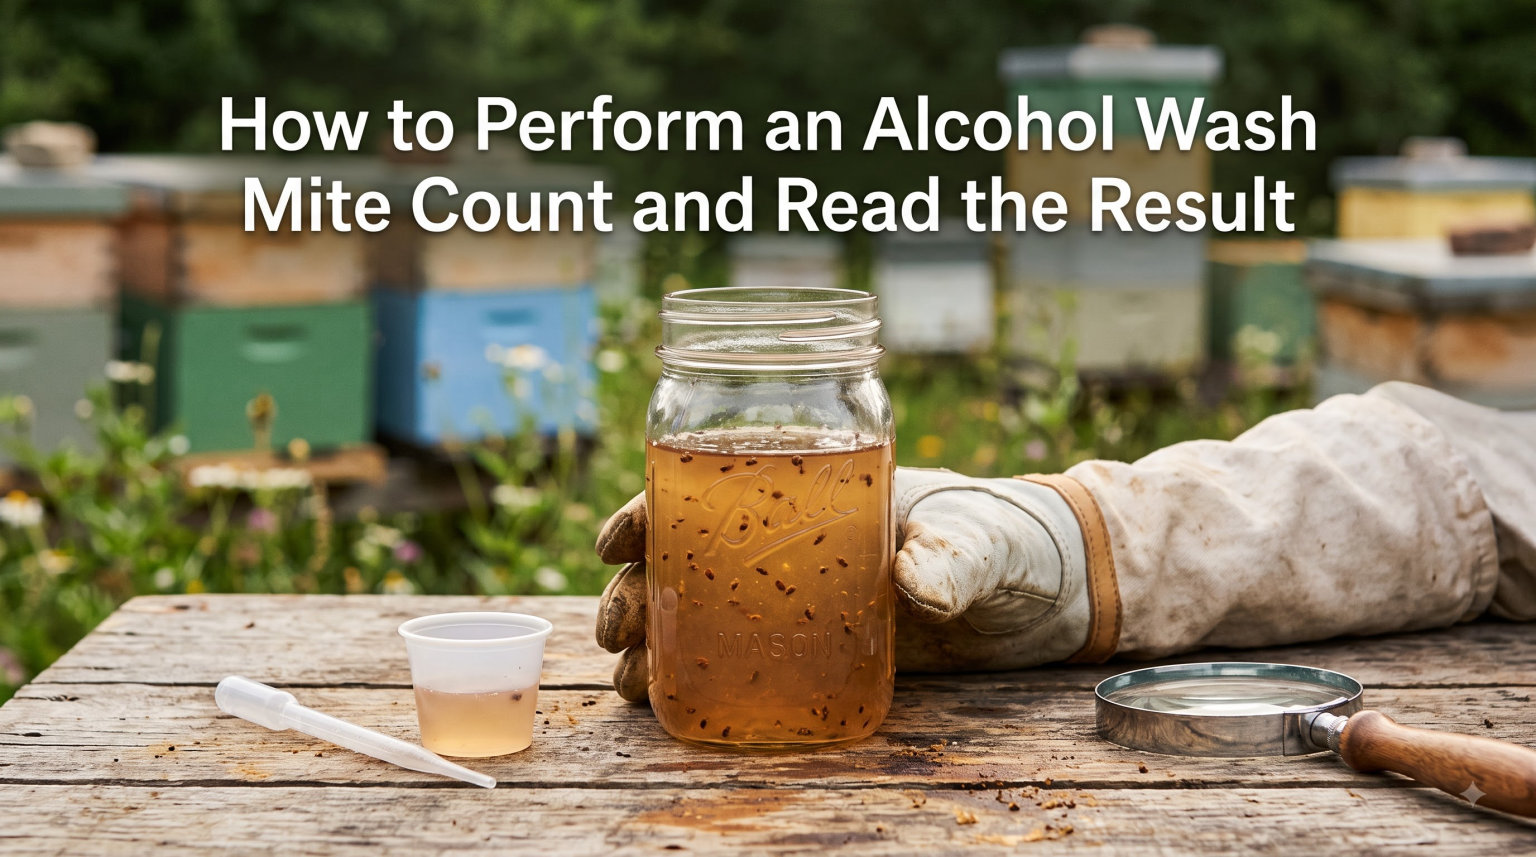
If you keep bees, Varroa destructor is the single biggest threat to your colonies. The good news is that a simple test called the alcohol wash mite count tells you exactly how bad the problem is inside any hive. I have run this test on dozens of colonies over multiple seasons, and it is the most reliable way to catch a mite explosion before it destroys a colony.
This guide walks you through every step of performing an alcohol wash mite count, from collecting the right bee sample to reading your final number. You will learn the exact supplies you need, the correct technique, how to calculate your infestation percentage, and what treatment thresholds mean for your bees. By the end, you will be able to walk up to any hive and run a test you can trust.
Table of Contents
What Is an Alcohol Wash Mite Count?
An alcohol wash mite count is a diagnostic test where you submerge a sample of about 300 nurse bees in rubbing alcohol to dislodge and count phoretic Varroa mites clinging to their bodies. The alcohol kills both the bees and the mites, causing the mites to release their grip and sink to the bottom of a measuring container. You then count the fallen mites and divide by your bee sample size to get an infestation percentage.
This method removes over 90 percent of the mites on a given sample, making it the gold standard for accuracy among beekeepers and researchers alike. Extension services at universities across the country recommend the alcohol wash as the most dependable way to estimate a colony’s mite load. The Honey Bee Health Coalition references it as a primary monitoring tool for treatment decisions.
The test specifically counts phoretic mites, which are adult female mites riding on adult bees between reproductive cycles. These mites will eventually crawl into a brood cell, lay eggs, and feed on developing bee larvae. When phoretic mite numbers climb, the reproductive mites inside capped brood climb even faster, which is why catching the trend early matters.
Why the Alcohol Wash Beats Other Monitoring Methods
The alcohol wash mite count outperforms other common methods because alcohol reliably breaks the physical grip mites use to hold onto bees. Varroa mites cling using specialized pad-like structures, and alcohol dissolves the surface tension and oils that help them hold on. Within about 60 seconds of immersion, the vast majority of mites release and sink.
The powdered sugar roll avoids killing bees, but it only dislodges around 70 to 80 percent of mites and is highly sensitive to humidity. On a humid summer day, sugar clumps and fails to penetrate the bee cluster, giving you falsely low numbers. CO2 injection works but requires expensive equipment most backyard beekeepers do not own.
Some beekeepers substitute Dawn dish detergent for alcohol to reduce cost, and it does work reasonably well. However, alcohol produces the most consistent results across different temperatures and humidity levels, which is why researchers standardize on it.
Supplies You Need to Perform an Alcohol Wash
You do not need much equipment to run an accurate alcohol wash mite count, but having the right tools makes the process smooth and repeatable. Here is what I keep in my apiary kit for testing.
A mite wash container with a built-in strainer basket. The Varroa EasyCheck is the most popular option and holds exactly the right volume for a 300-bee sample. You can also build your own from two nested plastic cups with holes drilled in the inner cup.
Rubbing alcohol, 70 percent isopropyl. You need roughly 100 to 150 milliliters per test, enough to fully cover the bee sample in the container. Some beekeepers use 90 percent alcohol, but 70 percent works just as well and is cheaper and easier to find.
A half-cup measuring scoop. This volume equals approximately 300 bees when filled level with nurse bees from a brood frame. Having a dedicated scoop saves you from counting individual bees every time.
A white surface or white bowl. Mites are small, dark reddish-brown ovals about 1 to 1.5 millimeters long, and they show up best against a pale background when you count them.
A 5-gallon bucket. Use this for collecting spent alcohol and dead bees after the test. A fine tea strainer or coffee filter lets you catch and reuse the alcohol for future washes, cutting your supply costs.
How to Perform an Alcohol Wash Mite Count Step by Step
The alcohol wash procedure takes about five minutes per colony once you have practiced it a few times. Follow these steps in order for the most accurate and repeatable results.
Step 1: Choose the Right Frame and Locate the Queen
Open your hive and pull a frame from the brood nest, ideally one with open larvae and capped brood. Nurse bees clustering on brood frames carry the highest phoretic mite load, which gives you the most representative sample. Avoid frames with mostly drones, since drone brood attracts disproportionate mite numbers and skews your result.
Before you do anything else, scan the frame carefully for the queen. If she is on the frame, gently set it aside and pick a different one. You never want the queen in your sample because the test is lethal to every bee you collect.
Step 2: Collect Your Bee Sample of About 300 Bees
Scoop nurse bees directly off the brood comb into your half-cup measure until it is level full. A level half-cup holds roughly 300 bees, which is the standard sample size used in research and by the Honey Bee Health Coalition. Tap the scoop gently to settle the bees and avoid overfilling.
Pour the bees immediately into your wash container and snap the lid shut. Work quickly so bees do not fly off or crawl out before the container is sealed. Do not scoop bees from the bottom board or entrance, because those foragers carry fewer mites and will give you an artificially low count.
Step 3: Add Alcohol and Seal the Container
Pour enough 70 percent isopropyl alcohol into the container to fully cover the bee sample, usually to the fill line marked on an EasyCheck. The liquid level should sit above the bees so every bee is submerged. Snap the lid on securely before the next step.
The alcohol anesthetizes and kills the bees within seconds, and it immediately begins breaking the grip mites use to hold on. There is no need to wait before you start shaking, but giving the container a few seconds lets the liquid penetrate the cluster of bee bodies.
Step 4: Shake or Swirl Continuously for 60 Seconds
Grip the sealed container and swirl it in a circular motion for a full 60 seconds. The mechanical agitation combined with the alcohol dislodges mites from between bee body segments, leg joints, and the narrow gap between the thorax and abdomen. Keep the container moving the entire time for maximum mite recovery.
After 60 seconds of swirling, set the container down and let it rest for another 30 seconds. This settling period lets all dislodged mites sink through the strainer basket to the bottom chamber. The bees remain trapped in the upper basket while mites pass through to the liquid below.
Step 5: Strain and Separate Mites From Bees
Lift the inner strainer basket out of the container, letting the alcohol drain back into the bottom chamber. The bees stay in the basket, and the mites have already fallen through to the liquid below. Give the basket a gentle shake to release any last drops of alcohol carrying mites.
Set the bee-filled basket aside in your 5-gallon bucket. You will dispose of the dead bees responsibly, typically by composting or burying them away from the hive entrance.
How to Count Mites and Calculate Infestation Percentage
Counting mites is simpler than most beginners expect, but you need good light and patience. Here is exactly how to get an accurate number every time.
Pour the alcohol from the bottom chamber into a white bowl or onto a white plate. Tilt the container slowly so all the liquid drains out, then rinse the chamber with a splash of clean alcohol to wash down any mites stuck to the sides. The mites will be visible as tiny dark specks against the white background.
Count every reddish-brown oval you see. Mites are about the size of a sesame seed, noticeably larger than pollen grains or debris. Use a magnifying glass if your eyesight makes it hard to distinguish mites from specks of propolis or wax.
Now do the math. Divide your mite count by the number of bees in your sample, then multiply by 100 to get a percentage. With a standard 300-bee sample, simply divide your mite count by 3 to get the percent infestation.
Quick reference calculation:
If you count 9 mites from 300 bees, your infestation rate is 3 percent. That is 9 divided by 3, which equals 3. If you count 15 mites, your rate is 5 percent. If you count 3 mites, your rate is 1 percent.
Many beekeepers express results as mites per 100 bees instead of a percentage, and the two are equivalent. A 3 percent infestation means 3 mites per 100 bees. Both formats describe the same number, so use whichever makes more sense to you.
Reading the Result: Treatment Thresholds Explained
Knowing your number is only useful if you understand what it means and when to act. Treatment thresholds change with the season because mite populations grow exponentially during brood rearing and crash when brood is absent.
The widely accepted action threshold is 3 mites per 100 bees, which equals a 3 percent infestation rate. This benchmark comes from the Honey Bee Health Coalition and represents the point where mite-related virus damage begins to seriously harm colony health. When you hit or exceed 3 percent, you should treat that colony.
Thresholds shift depending on the time of year and what your colony is doing.
Spring (during population buildup): Treat at 2 mites per 100 bees or higher. Mites reproduce faster than bees in spring, so a small mite population now becomes a crisis by midsummer. Early intervention protects the bees that will make your honey crop.
Summer (June through August): The 3 percent threshold applies, but watch the trend closely. Mite populations can double every 3 to 4 weeks during peak brood rearing. A colony at 2 percent this month could hit 8 percent next month without any warning signs.
Late summer and early fall: This is the most critical testing window. The bees you raise in fall must survive winter, and high mite loads shorten their lifespan dramatically. Treat at 3 percent or higher, and re-test after treatment to confirm it worked.
During a brood break or winter: When colonies are broodless, nearly all mites are phoretic and vulnerable to treatment. This is the ideal time to use treatments like oxalic acid that only kill mites on adult bees. Test before treating to confirm mites are present.
One important concept to understand is exponential mite doubling. During active brood rearing, a Varroa female entering a worker cell can produce one to two daughters per reproductive cycle, and those daughters mature and reproduce within weeks. This is why a colony reading 1 percent in May can read 6 percent by August even though nothing looks wrong on the surface.
Always test a second time if your result surprises you. Forum discussions among experienced beekeepers consistently stress confirming unusual readings before making treatment decisions. A retest 7 to 10 days later either validates your number or reveals a sampling error.
Treatment Decision Guide After Your Count
Once you have your percentage, your next move depends on the number and the season. Here is a simple framework I use in my own apiary.
Below 1 percent: Re-test in 3 to 4 weeks. No treatment needed now, but keep monitoring because mite populations climb fast during brood rearing.
Between 1 and 2 percent: Monitor closely and test again in 2 to 3 weeks. Consider treatment if the trend is rising, especially in spring or early summer.
At or above 3 percent: Treat the colony. Choose a treatment appropriate for the season, the temperature range, and whether the colony has honey supers on. Always re-test 2 to 3 weeks after treatment to verify effectiveness.
Above 5 percent: Treat urgently. At this level, viruses like deformed wing virus are likely circulating, and the colony is at serious risk of collapse within weeks.
Alcohol Wash vs Sugar Roll vs CO2 Injection
Beekeepers frequently ask which monitoring method to use, and the answer depends on your priorities. Here is a straightforward comparison based on what the beekeeping community reports.
The alcohol wash kills your bee sample but delivers the most accurate and consistent results. It works in all humidity conditions and removes over 90 percent of mites. If accuracy is your top priority, this is the method.
The sugar roll keeps bees alive, which appeals to beekeepers hesitant about sacrificing bees. However, it only recovers about 70 to 80 percent of mites, and humidity dramatically affects results. On a muggy afternoon, sugar clumps and undercounts mites badly.
CO2 injection knocks bees unconscious temporarily and forces mites to release. It is accurate and non-lethal, but the equipment costs several hundred dollars. Most hobby beekeepers find the investment hard to justify.
Many beginners start with the sugar roll and switch to the alcohol wash once they realize the accuracy gap. The 300 bees you sacrifice represent a tiny fraction of a healthy colony’s 40,000 to 60,000 bees, and the information you gain can save the entire colony.
Tips for Accurate Results and Common Mistakes to Avoid
Accuracy comes down to technique and consistency. These tips come straight from experienced beekeepers and forum discussions.
Always sample nurse bees from the brood nest, never foragers from the entrance or bottom board. Foragers spend their days away from the brood and carry fewer mites, giving you falsely reassuring numbers. Nurse bees tending larvae are where phoretic mites concentrate.
Shake or swirl for the full 60 seconds. Cutting the agitation short is the most common mistake beginners make, and it leaves mites attached to bee bodies. The mechanical action is just as important as the alcohol itself.
Use a white counting surface and good lighting. Mites are small and reddish-brown, making them easy to miss against a dark or cluttered background. A plain white bowl under a bright light makes counting fast and accurate.
Re-test after treatment. A single pre-treatment count tells you when to act, but only a post-treatment count confirms your treatment worked. Resistance to certain miticides is common, so never assume a treatment solved the problem.
Test regularly, not just when you suspect trouble. The most successful beekeepers test monthly during the active season. Regular monitoring catches population trends early, before mites reach damaging levels.
Strain and reuse your alcohol. Pour the spent alcohol through a coffee filter or fine tea strainer to remove the mites and bee debris. Store the filtered alcohol in a sealed jar for your next test. This practice cuts your supply costs significantly over a season.
Frequently Asked Questions
How to do an alcohol mite wash?
Collect about 300 nurse bees from a brood frame into a mite wash container, cover them with 70 percent isopropyl alcohol, seal the lid, and swirl continuously for 60 seconds. Let the container rest for 30 seconds so mites sink through the strainer, then lift out the bee basket and count the mites in the liquid below.
What is the 3 3 3 rule for bees?
The 3 percent threshold means you should treat a colony when your alcohol wash shows 3 or more mites per 100 bees, which equals a 3 percent infestation rate. This benchmark comes from the Honey Bee Health Coalition and represents the level where virus damage begins seriously harming colony health.
How to do a mite count?
After washing your bee sample, pour the alcohol through a strainer into a white bowl. Count every reddish-brown oval mite you see against the white background. Divide your mite count by 3 if you used 300 bees, and the result is your infestation percentage.
What is the alcohol wash method?
The alcohol wash is a diagnostic test where a sample of 200 to 300 bees is submerged in rubbing alcohol to dislodge and count phoretic Varroa mites. It removes over 90 percent of mites and is considered the most accurate and reliable monitoring method available to beekeepers.
How many bees should I use for an alcohol wash?
Use approximately 300 bees, which equals a level half-cup measuring scoop filled with nurse bees from a brood frame. This sample size is the standard used in research and by the Honey Bee Health Coalition because it provides a statistically reliable estimate of the colony’s mite load.
Can I reuse alcohol from a mite wash?
Yes, you can strain the used alcohol through a coffee filter or fine tea strainer to remove mites and bee debris, then store it in a sealed jar for future tests. Filtering and reusing alcohol significantly cuts your supply costs over a beekeeping season.
Final Thoughts on Monitoring Your Hives
The alcohol wash mite count is the most dependable tool a beekeeper has for tracking Varroa destructor and making informed treatment decisions. It takes five minutes per colony, requires minimal equipment, and gives you data you can act on with confidence. The bees you sacrifice for each test are a small price for the information that can save an entire colony from collapse.
Test monthly during the active season, treat when you hit 3 percent, and always confirm your treatment worked with a follow-up wash. Consistent monitoring is what separates beekeepers who keep colonies alive year after year from those who lose them to mites and viruses. Grab your wash container, pick a hive, and run your first count today.