
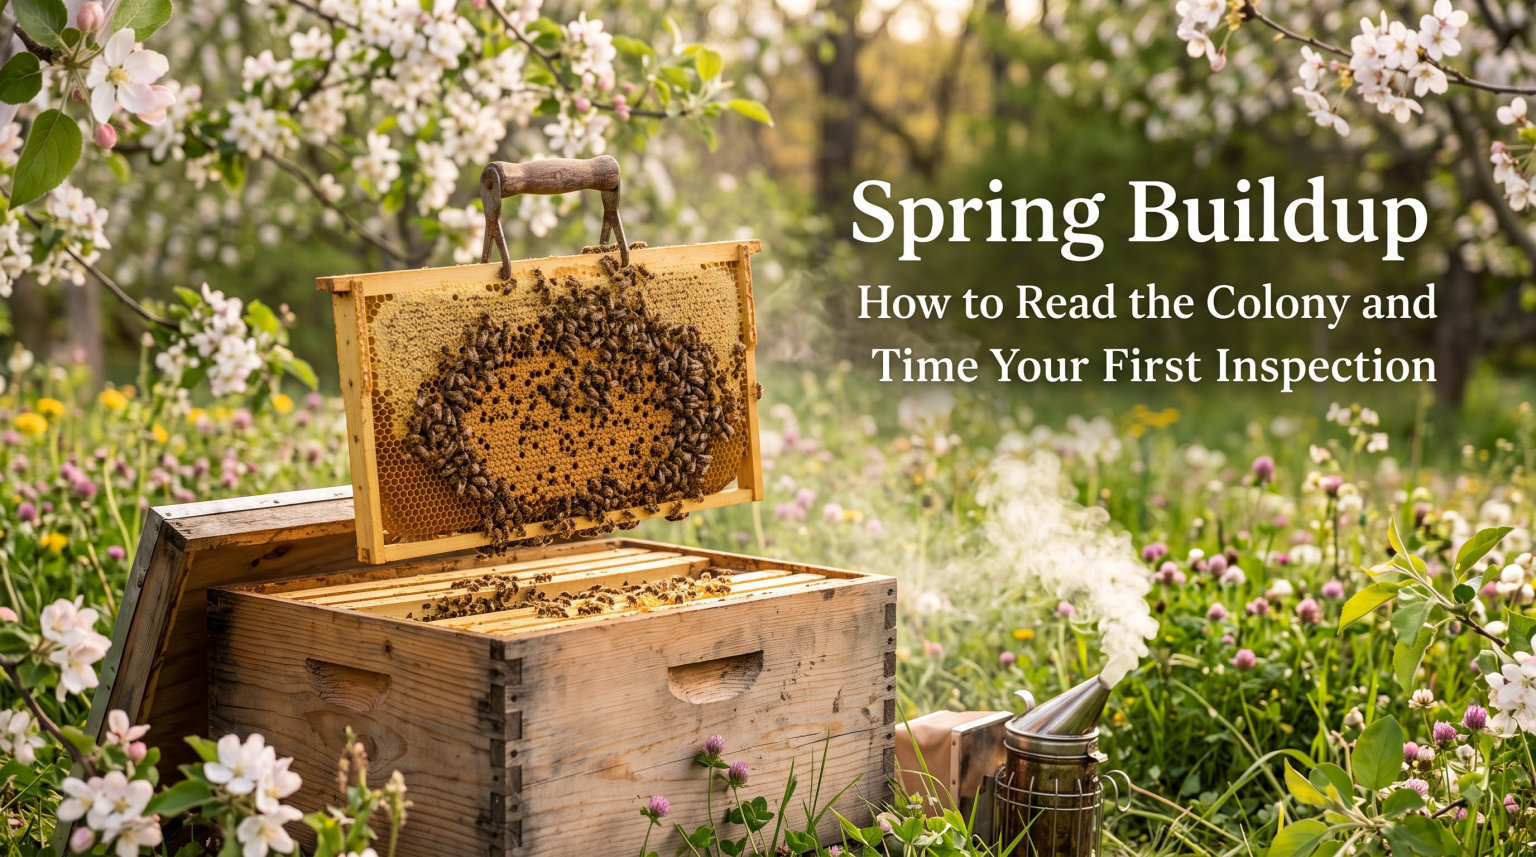
Spring buildup is the moment every overwintered colony has been waiting for, and the moment every beekeeper has been quietly worrying about. I remember standing in front of my first hive in early March, thermometer in one hand and hive tool in the other, wondering whether I was about to save my bees or set them back a month.
If that sounds familiar, this guide will walk you through exactly how to read a colony during spring buildup and time your first inspection with confidence. By the end, you will know what healthy buildup looks like inside the hive, the precise weather and temperature windows that make an inspection safe, how to confirm your queen is present and laying, and a step-by-step routine you can run on every colony.
Table of Contents
Table of Contents
Table of Contents
What Spring Buildup Actually Means
Spring buildup is the period when a honey bee colony transitions from its winter cluster to full reproductive and foraging mode. The queen ramps up egg laying, workers fly out on cleansing and pollen flights, and the population grows fast enough that you can almost watch it happen between visits.
For most temperate climates, buildup happens over four to six weeks once daytime temperatures climb consistently into the 50s Fahrenheit (10 to 15 Celsius). In the Deep South that may start in February, while the Pacific Northwest or the UK may not see buildup until late March or early April.
I keep a note in my inspection log every year showing first pollen entry, first drone brood, and first swarm cell because dates shift, but the sequence does not. The biological order is predictable: a small brood patch in late winter, expansion as pollen flows begin, drones, swarm preparations, and finally the main nectar flow.
If you open a hive too early, you chill brood and set the colony back. If you wait too long, you may miss a queen failure or find yourself dealing with capped swarm cells on a colony that swarmed two weeks ago.
The Three Phases of Spring Buildup
Phase 1: Cluster Break. The winter cluster loosens, the queen lays her first small brood patch, and bees begin taking short cleansing flights on warmer days. You will see yellow streaks on the snow or front of the hive. This is observation only, not inspection weather.
Phase 2: Expansion. Brood nest grows across multiple frames, drones begin appearing, and pollen flows ramp up. This is when most first inspections should happen. The bees are forgiving of short openings and the colony is robust enough to recover from minor chilling.
Phase 3: Pre-Swarm. The brood nest is packed, queen cells appear at the bottom and edges of frames, and bearding increases in the afternoon. By the time you are here, the decisions you make in the next 7 to 10 days will determine whether your colony swarms.
When to Open the Hive: Timing Your First Inspection
The single most common question I hear from new beekeepers is “Is it warm enough?” The honest answer is that a quick inspection is safe at temperatures most people think are too cold, and a slow inspection is unsafe at temperatures most people think are fine.
I open hives at 55 to 60 Fahrenheit (13 to 16 Celsius) as long as conditions are right. The trick is not the number on the thermometer, but whether the rest of the weather is cooperating.
Temperature, Wind, and Sun
Aim for a daytime air temperature of at least 55 F (13 C). A 60 F (16 C) day is better. The critical detail is wind. A calm 55 F day beats a windy 65 F day every time.
Direct sunshine on the hive entrance is a bonus because returning foragers will be calm and the brood nest will recover temperature faster. I always check the sun angle at the hive entrance before I start lifting boxes.
Avoid inspections in rain, fog, or threat of rain. Bees are more defensive and harder to work when the weather is uncertain. They also know that a wet hive is a dangerous hive, and they will respond accordingly.
Time of Day: Why Midday Works Best
The best time of day to inspect a beehive is between 11 am and 2 pm on a sunny day with light wind. A large share of the foraging force is in the field, the sun has warmed the hive body, and bees that are out flying tend to be focused on nectar and pollen rather than defending the nest.
I avoid opening hives in the evening. Returning foragers crowd the entrance, defensive behavior increases, and you are working against the clock as the colony tries to seal up warmth for the night. Early morning inspections risk encountering a large guard force that has been cooped up overnight.
Regional Timing Variations
Beekeeping calendars published for the UK, the upper Midwest, and the Deep South look like completely different hobbies because the bees are on completely different schedules. In Georgia, I would plan a first inspection in mid to late February. In Oregon or Scotland, the same calendar date is two months too early.
The most reliable indicator is local phenology. When dandelions bloom, when fruit trees begin to blossom, when you see bees returning with bright orange or yellow pollen, those are your real-world signals.
I track the first crocus bloom in my notes because it almost always lines up with the start of brood expansion in my colonies. Phenology beats the calendar every time.
A Simple Decision Framework
Before I open a hive for the first time in spring, I run through four checks. If any of them fail, I wait.
- Air temperature at least 55 F (13 C) for the duration of the inspection.
- Wind under 10 mph, ideally under 5 mph.
- Sun on the hive or clear sky with warming forecast.
- Active foraging visible, including pollen coming in.
If three of four pass and the fourth is borderline, I still inspect, but I move quickly and only do the essentials. The 3 3 3 rule for bees is a related quick reference: try to spend no more than 3 days a season, 3 frames, and 3 minutes per frame during a first inspection.
Reading the Colony: What Healthy Buildup Looks Like
Once the inner cover comes off, you are looking for five things in roughly this order: population size, queen status, brood pattern, food stores, and swarm preparations. A good spring buildup colony inspection timing plan lets you check all five in under 10 minutes per hive.
Frames of Bees: Measuring Population
Frame of bees is the standard unit beekeepers use to describe colony strength. One full deep frame holds around 3,000 to 4,000 bees covering both sides at normal cluster density. A healthy buildup colony going into spring in a double deep setup should have six to eight frames of bees in the upper box by the time of your first inspection.
If you find only two or three frames of bees, that is a borderline colony. It is not lost, but it needs feeding, insulation, and a reduced entrance until numbers grow.
Queen Presence: Three Reliable Signs
You do not need to see the queen to confirm she is present and laying. I rely on three signs, and only dig for the queen herself if all three look wrong.
- Eggs in the bottom of cells. A single egg per cell, standing upright like a tiny grain of rice, means the queen was alive within the last three days. This is the single most useful indicator on a first inspection.
- Open larvae in a tight pattern. C-shaped white larvae floating in royal jelly means the brood nest is active and being fed.
- Capped brood pattern. Even, mostly filled caps of brood with few misshapen cells means a healthy queen.
The 7/10 rule for bees says that if you see eggs or very young larvae on at least seven of ten central brood frames, the queen is almost certainly present and doing well. I find this rule is more useful than counting the queen herself, especially when she is running fast across a frame.
Brood Pattern: Reading the Comb
A healthy brood pattern is solid, with capped cells forming a tight oval or circular patch and only a few empty cells scattered through it. Empty cells in the middle of capped brood typically indicate disease, chilled brood, or an old failing queen.
A shotgun pattern, where capped brood is scattered and inconsistent, often points to a queen that has run out of stored sperm. When you are reading a brood frame, also note the ratio of capped to open brood to eggs.
Capped brood in the center with open larvae and eggs on the edges is the classic concentric ring pattern of an expanding colony. A frame that is all capped brood with no eggs means the queen has stopped laying, and you are looking at a recent queen failure.
Food Stores: Honey and Pollen
A spring colony needs about 30 to 50 pounds of honey to make it through a typical spring and into the first nectar flow. Pollen reserves are equally important because protein drives brood production.
I look for capped honey on the outer frames and pollen packed around the brood nest. If stores are below 20 pounds, I start feeding a 1:1 sugar syrup to stimulate the colony.
If pollen is scarce, I add a pollen patty directly above the brood nest. A buildup colony that runs out of food in March or April will quickly stall, no matter how good the queen is.
Swarm Cell Signs: The 7/10 Rule
The 7/10 rule for swarm prevention says that once seven of ten frames in the brood box are covered with bees and brood, the colony is at serious risk of swarming in the next two to three weeks.
At that point you should be inspecting weekly and giving the colony room, either by adding a super, performing a split, or using a drawn comb to relieve congestion.
Look for queen cells at the bottom and sides of brood frames during every inspection once you are past mid-spring. A few open cups along the bottom are normal and do not mean a swarm is coming. Capped swarm cells mean you may have already lost a swarm unless the bees are making supersedure cells with the old queen still present.
Step-by-Step Inspection Process
Once you have decided the timing is right, the inspection itself is straightforward. The trick is to keep it short, calm, and structured. I follow the same sequence every time so I do not forget anything.
Step 1: Gear Up and Light the Smoker
Put on your veil, jacket, and gloves. Light the smoker with pine needles, burlap, or untreated wood shavings and aim for cool, white smoke. A few puffs at the entrance and one under the inner cover is plenty. Heavy smoke makes bees angry and slows you down.
Step 2: Remove the Outer Cover and Inner Cover
Pry the inner cover gently with your hive tool. If bees have propolized it shut, give a sharp twist rather than pulling straight up. Set the covers aside upside down so you have a clean surface to lean frames against.
Step 3: Inspect the Top Box First
If you run two deeps, remove the top box and set it on an overturned lid next to the hive. Start with the top box because it usually has the warmest brood and most recent activity.
Pull the outer frame first and lean it against the box, then work inward frame by frame.
Step 4: Check Each Frame in 30 Seconds
For each frame, I follow the same quick routine. Hold it by the shoulders, look at the side facing you, then gently tilt and rotate to see the back.
Look for the queen, eggs, larvae, capped brood, and any queen cells along the bottom. Replace the frame before moving to the next one.
Step 5: Assess the Lower Box
Once the top box is checked and set aside, move to the lower box. The queen is more often found here on cooler days. Repeat the frame-by-frame routine, paying special attention to the outer frames where queen cells tend to appear first.
Step 6: Put It Back Together
Replace boxes in the original order, add or remove a super if needed, and close up. The whole process should take 7 to 10 minutes for a quick spring buildup check on a single hive.
If you find yourself at 15 minutes with the hive open, close it up and finish the rest another day.
How Long Should a Spring Hive Inspection Take?
For a routine first-of-season check, aim for under 10 minutes per hive. For a deeper mid-spring inspection where you are also looking for swarm cells and managing space, plan on 15 to 20 minutes.
If you are doing a full colony split or comb swap, expect 30 to 45 minutes. Anything longer than that risks chilling brood and stressing the colony.
Common Problems and What to Do About Them
Even with perfect spring buildup colony inspection timing, you will eventually open a hive and find something wrong. Here are the four most common situations I run into and how I handle each one.
Weak Colony
Two to three frames of bees, no eggs, light stores. Combine with a stronger hive using the newspaper method, or feed heavily and reduce entrance size. A small colony that is on its own in spring rarely builds up in time for the main flow.
Queenless but with Laying Workers
Spotty drone brood in worker cells, no eggs in the normal pattern, multiple eggs per cell on the frame. This colony cannot raise its own queen from worker eggs.
Give it a frame of open brood from a healthy hive every week for three weeks and they will often raise their own queen. If not, combine with another hive.
Swarm Cells Present
Capped swarm cells at the bottom of frames means the colony has made a decision. Either perform a split, knock down the cells and add space, or let them swarm.
Be honest with yourself about whether you can perform a split on the spot because once those cells are capped, you have days, not weeks.
Varroa Mite or Disease Signs
Twisted wings on bees, larvae that look melted or ropey, or an unexplained ammonia smell means you should pull the frame and investigate. Perform an alcohol wash or sugar shake test on a frame of bees from the brood nest if you suspect varroa, and treat according to your regional IPM strategy. Do not delay because pest problems multiply fast during buildup.
A Real-World Note from My Own Yard
Last year I opened a hive in early April, fully expecting to find the strong colony I had overwintered, and instead found three frames of bees, no eggs, and a handful of supersedure cells.
I gave them a frame of brood from a stronger colony, kept feeding 1:1 syrup, and four weeks later they had a new queen laying and pulled enough comb to need a super. The lesson was that a slow start in spring does not mean a failed colony, but only if you catch it during buildup colony inspection timing.
Frequently Asked Questions
When should I do the first spring hive inspection?
Aim for the first inspection when daytime temperatures are consistently at least 55 F (13 C) with low wind, active foraging, and visible pollen coming in. In most temperate regions this falls between mid-March and mid-April, but track local dandelion bloom and bee activity instead of the calendar.
What is the 3 3 3 rule for bees?
The 3 3 3 rule is a beginner-friendly guideline that suggests spending no more than 3 days per season doing major inspections, checking 3 frames at a time on a routine visit, and spending about 3 minutes per frame. It helps new beekeepers avoid over-disturbing colonies during buildup.
What is the best time of day to inspect a bee hive?
The best time of day is between 11 am and 2 pm on a sunny, calm day. Foragers are in the field, the sun has warmed the hive, and bees are typically calm and focused on nectar rather than defense. Avoid evenings and rainy or windy conditions.
What is the 7/10 rule for bees?
The 7/10 rule is used in two ways. For queen status, eggs or very young larvae visible on seven of ten central brood frames means the queen is almost certainly present. For swarm risk, when seven of ten brood frames are covered in bees and brood, the colony is at serious risk of swarming within two to three weeks.
How long should a spring hive inspection take?
A routine first spring inspection should take under 10 minutes per hive. A deeper mid-spring inspection focused on swarm prevention takes 15 to 20 minutes. Anything longer than 30 minutes risks chilling brood, especially at temperatures under 65 F (18 C).
How can I tell if my hive is preparing to swarm?
Look for queen cells at the bottom and sides of brood frames, a crowded brood box where seven of ten frames are full of bees, bearding in the afternoon, and reduced foraging activity. Capped swarm cells mean a swarm is imminent, while open cups alone are normal and can be knocked down if you give the colony space.
What temperature is too cold to open a beehive?
Below 55 F (13 C) is generally too cold to open a beehive for more than a minute. Below 50 F (10 C), even a quick check risks chilling open brood. In borderline conditions, limit the inspection to one or two frames and close the hive quickly.
Closing Thoughts on Spring Buildup Colony Inspection Timing
Spring buildup colony inspection timing comes down to three habits. Watch the weather and wait for a calm, sunny 55 F window. Open the hive quickly and check frames of bees, eggs, brood pattern, food stores, and swarm cells.
Close up and act on what you find, whether that means feeding, combining, splitting, or simply giving the bees another week. The bees will tell you what they need if you are willing to slow down and look.
A few years of patient observation, recorded in a notebook, will do more for your beekeeping than any textbook rule. Use the framework in this guide as a starting point, then adjust for your own climate, your own colonies, and the specific conditions of 2026.