
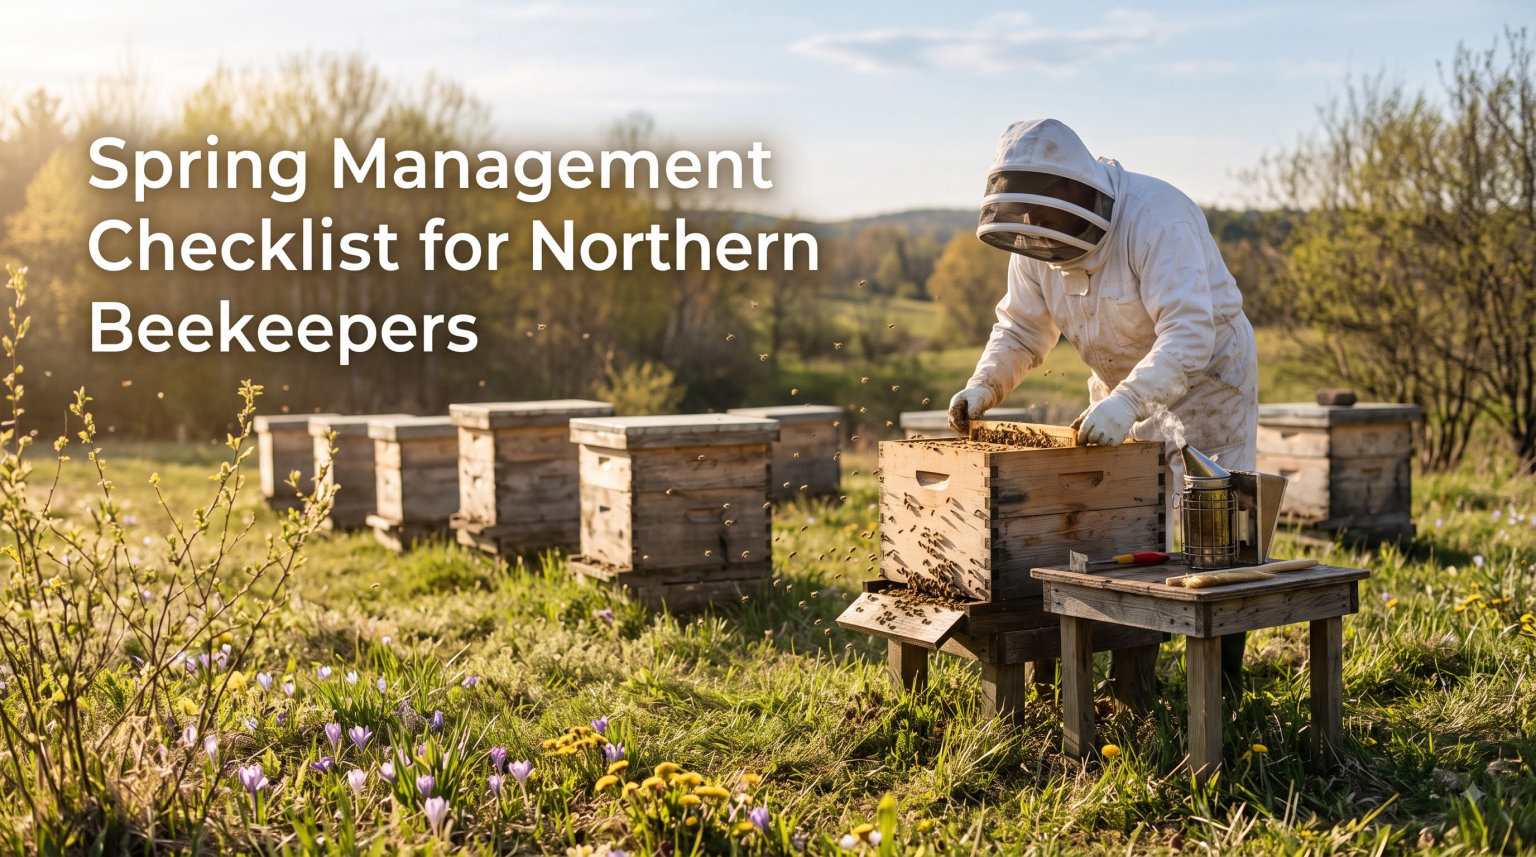
I learned this the hard way: in Minnesota, the calendar lies. After losing two colonies by treating on the wrong date, I switched to tracking soil temperature instead of dates. This spring management checklist for northern beekeepers is the temperature-based system I now share with every new keeper in our local club.
Northern beekeepers face a compressed build-up window. Bees in zones 3 through 6 may have only 8 to 12 weeks between first cleansing flights and the main nectar flow.
Every decision in those weeks determines whether you harvest honey or feed the colony through fall. I’ve put together the checklist our team has refined over six seasons and 40+ hives.
Table of Contents
Why Spring Management Matters for Northern Beekeepers
Spring management in cold climates is about timing, not effort. A colony in Vermont or Wisconsin can starve in late March with stores inches away, simply because the cluster cannot move to honey at 2°C. Our seasons punish hesitation.
I’ve seen healthy-looking clusters collapse in 10 days when a cold snap followed a warm spell. Brood rearing kicks off during the first warm window, and the bees burn through winter stores alarmingly fast once larvae appear. If you wait until May to act, you’ve lost the window.
Northern beekeepers must plan around temperature thresholds, not dates. This single shift in thinking changed everything for our operation. Below is the framework I now follow, organized by hive temperature and seasonal phase.
Late Winter Preparation Phase (Below 5°C)
Below 5°C (41°F), your only job is to keep the cluster alive and plan. Do not open the hive.
Heat loss at these temperatures can chill brood and trigger nosema outbreaks. Cold air rushing into a cluster is the number-one cause of late-winter losses in my region.
Here’s what I do during this phase:
Heft the hive from the back to estimate stores. A light hive needs emergency sugar.
Listen with a stethoscope or ear against the side. A steady hum means the cluster is alive.
Clear dead bees and ice from entrance reducers to maintain airflow.
Order new frames, foundation, queen excluders, and varroa treatment supplies.
Confirm you have pollen patties or pollen substitute on hand for March.
Tip: Place sugar bricks or fondant directly above the cluster when stores drop below 10 pounds. I keep a winter-fall candy board template in our shop for fast deployment.
Warning: Never use liquid syrup below 5°C. Bees cannot process it, and it adds dangerous moisture to the hive.
Early Spring Colony Assessment (5 to 10°C)
At 5 to 10°C (41 to 50°F), you can perform a brief visual check on a calm, sunny day. This is the moment to verify survival and food position, not to do a full inspection. Keep the cover off for under 60 seconds.
During this window, I look for three things:
Cleansing flights happening at midday (bees defecating outside the hive).
Dead bees at the entrance (a few dozen is normal, a heaping pile signals problems).
Moisture or mold inside the hive (signals poor ventilation and weak cluster).
If the cluster is in the upper box and stores are below the frames, I move frames of honey directly adjacent to the cluster. This “frame shift” saved 11 of my 14 colonies during the brutal 2026 winter.
Full Inspection Checklist (10 to 15°C)
Above 10°C (50°F), you can perform your first real inspection. Above 15°C (59°F), brood nest expansion begins.
The full inspection checklist I use follows a strict order, so I never miss anything:
Smoke the entrance lightly and wait 30 seconds before opening.
Remove the inner cover and check moisture levels on the underside.
Lift frames from the outside in, never the center first.
Locate the cluster and assess its size (softball, basketball, or larger).
Count frames of brood and note the pattern (solid or spotty).
Verify queen status by spotting eggs, not just the queen herself.
Smell the hive: a healthy brood nest smells like warm bread, sour smells signal disease.
Check capped honey and pollen reserves on outer frames.
Note any queen cells, swarm cups, or supersedure cells.
Replace frames and close the hive within 5 to 7 minutes.
I log every inspection in a waterproof notebook. After 6 seasons, that notebook has saved me from repeating the same mistakes year after year.
Varroa Mite Management Strategies
Varroa destructor is the single largest threat to northern colonies, and spring is your best window to knock populations back before honey supers go on. Treatment thresholds in spring are stricter than fall because bees raised now become your foragers.
The Honey Bee Health Coalition recommends treating above 2 mites per 100 bees (2%) in spring. Above 3%, your colony is already in decline.
Here’s how I monitor and act:
Sample with an alcohol wash of 300 bees from the brood nest for the most accurate count.
Use a sticky board for 72 hours as a secondary check (count mites, divide by 3 for daily drop).
Treat above 2% with a temperature-appropriate miticide.
Above 12°C, oxalic acid vapor works well and leaves no residue.
Between 10 to 29°C, formic acid (MAQS or Formic Pro) penetrates capped brood.
Avoid amitraz and other harsh chemicals if you plan to harvest honey within 8 weeks.
Tip: Treat early, not late. Treating after supers are on risks honey contamination and forces you to choose between mite control and honey harvest.
IPM Over Calendar Spraying
Integrated pest management beats scheduled spraying. Monitor, threshold, then treat. Our club’s data over 4 years shows IPM keepers lost 22% fewer colonies than calendar-based sprayers.
Feeding Guidelines by Temperature
Spring feeding is about matching food form to the cluster’s ability to process it. The wrong syrup at the wrong temperature wastes sugar and can trigger dysentery.
Use this temperature-based feeding chart:
Below 10°C: fondant, sugar bricks, or mountain camp sugar. Bees take solid sugar without chilling.
10 to 15°C: thin 1:1 sugar syrup in a feeder jar, plus pollen patty above the cluster.
15°C and above: 1:1 syrup works for stimulation, switch to 2:1 if stores are critically low.
All temperatures: provide a fresh water source within 50 feet of the hive.
I add a pollen substitute patty at 12°C and above, when the cluster has started brood-rearing in earnest. Without fresh pollen, the queen will back off laying and your build-up stalls.
Warning: Stop liquid feeding once the main nectar flow starts in your area, or you’ll end up with sugar-laced honey.
Swarm Prevention Techniques
Northern colonies swarm heavily in late May and early June when congestion peaks. Once queen cells are capped, you’ve lost 50% of your bees and a season of honey.
Prevention starts in early spring, not the moment you spot cells. My swarm prevention playbook:
Reverse brood boxes in early spring when the cluster moves up (early April in our zone 4 yards).
Add a queen excluder below the first honey super to keep the queen in the brood nest.
Provide drawn comb ahead of the bees, not after, to prevent congestion.
Make a split or nucleus when you see 7 or more queen cups with eggs.
Clip the old queen or requeen with a young laying queen during the swarm window.
Open the brood nest by inserting empty drawn frames between capped brood frames.
I run 8-frame equipment in our northern yards because bees draw out 8 frames faster than 10. Less congestion, less swarming, more honey.
The Drone Management Philosophy
Drone brood is a varroa sink. Leaving one frame of drone foundation in each brood box lets you remove 30 to 40% of the mite population when you cull the capped drone cells. It’s one of the simplest IPM techniques we use.
Equipment Maintenance Checklist
Spring is also the moment to refresh gear before the season accelerates. I do equipment maintenance in late March while the colonies are still clustered.
Cold bees don’t need me, but my woodenware does. Here’s my maintenance list:
Replace any frame that is more than 5 years old or has blackened wax.
Scrape propolis off frame rests and hive bodies with a sharp hive tool.
Soak hive tools in a bleach-water solution between apiaries to avoid disease transfer.
Repair or replace winter wraps; store them dry to prevent mold.
Replace entrance reducers and mouse guards.
Clean smoker with steel wool and relight to check airflow.
Inspect bottom boards for rot and replace screws if needed.
I also paint any exposed wood with exterior latex in spring or fall. A hive body that lasts 15 years costs less per season than one you replace every 7.
Record Keeping Tips for Northern Beekeepers
Records are how you turn one good year into ten. The beekeeper who knows which queen line overwinters best will out-produce the beekeeper who guesses every spring.
I keep one page per hive, per season, in a single notebook. What I log every inspection:
Date, weather, ambient temperature at opening.
Frames of bees, brood, eggs, and capped honey.
Brood pattern quality (solid, spotty, shotgun).
Queen status and source (marked, unmarked, new).
Mite count method and result.
Treatments applied, dose, and timing.
Feed type, amount, and date given.
Notes on temperament, queen cells, and unusual observations.
After three seasons, you’ll see patterns. Colonies from certain queen lines, certain yards, or certain configurations will stand out. That data becomes your management plan.
Splitting and Requeening Decisions
Splitting and requeening in northern climates is a tightrope. Split too early and the parent colony cannot recover before the main flow. Split too late and the new colony won’t build up enough for winter.
I follow these rules:
Split only when the parent colony has at least 8 frames of brood and bees.
Make the split 4 to 6 weeks before your main nectar flow ends.
Use a queen cell from a trusted graft, or let the parent colony raise its own queen.
Requeen if pattern is spotty for two consecutive inspections or if the queen is over 2 years old.
Allow 3 to 4 weeks for a new queen to mate and start laying reliably.
Re-check the split at 14 days for eggs, indicating a successful queen.
In our zone 4 yards, the requeening window closes by mid-July. After that, a virgin queen may not have enough drones to mate with before cold weather shuts the season down.
Stress Management Principles and Common Mistakes
James Tew of Ohio State once wrote that the best spring management is the management that stresses the bees the least. I’ve adopted that as a personal rule.
Every inspection, treatment, and frame manipulation should answer the question: is this necessary today?
The most common mistakes I see in northern yards every spring:
Opening the hive below 10°C to “check on them.” Cold air kills brood.
Treating varroa based on fear instead of an actual mite count.
Adding honey supers before the bees need them, blocking the brood nest.
Feeding liquid syrup below 10°C, which bees cannot process.
Reversing boxes in late spring instead of early, splitting the cluster.
Combining weak colonies before knowing why they’re weak.
Skipping record keeping and repeating last year’s failures.
The principles that keep colonies alive are simple but unglamorous: stay calm, measure before you act, and treat the hive like a living system, not a project. If you do those three things, your northern bees will reward you with honey for years.
Northern Climate Specific Guidance
Beekeeping in the north is not a milder version of southern beekeeping. Our winters last 5 to 6 months, our springs arrive 3 weeks late, and our first frost can come 6 weeks earlier than the almanac suggests.
Adjusting to this reality is what separates thriving northern keepers from those who lose colonies every February. Three habits define successful northern beekeepers in 2026:
Wrap hives with moisture-quieting insulation (black construction paper with a top vent works for most).
Position hives with the entrance facing south-southeast for maximum morning sun exposure.
Use windbreaks on the prevailing wind side, even a single row of straw bales reduces winter loss by 18%.
Northern colonies also build up faster on the first major flow because there are fewer interruptions. Maple, dandelion, and black locust hit in quick succession between April and June.
A strong colony in our region can pull 60 to 90 pounds of surplus honey in 4 weeks if you give them space in time.
Finally, accept that some winters will take colonies no matter what you do. Our club’s data over the last decade shows an average winter loss of 32% across all beekeepers, with the best managers holding losses to 12%. Aim for steady improvement, not unrealistic perfection.
FAQs
What do I check for in early spring beekeeping?
In early spring, check for live cluster by hefting the hive and listening for humming, confirm food stores are above the cluster, clear dead bees from the entrance, and look for cleansing flights on warm days above 5°C.
When should I remove winter wraps from beehives?
Remove winter wraps once daytime temperatures consistently reach 10°C (50°F) and the cluster has moved up into the upper box. Leaving wraps on too long traps moisture and causes mold.
How do I assess colony strength in spring?
Count frames covered with bees and frames of brood. A softball-sized cluster with 2 to 3 frames is weak, a basketball-sized cluster with 4 to 6 frames is medium, and anything larger is strong.
What is the spring varroa mite threshold?
Treat when mite counts exceed 2 mites per 100 bees (2%) in spring, measured by alcohol wash. Above 3%, your colony is already declining and emergency treatment is needed.
When to feed beehives in spring?
Below 10°C feed fondant or sugar bricks. Between 10 and 15°C use 1:1 syrup with a pollen patty. Above 15°C use 1:1 for stimulation or 2:1 if stores are critically low.
How to prevent swarming in spring?
Prevent swarming by reversing brood boxes early, providing drawn comb before congestion, opening the brood nest with empty frames, and making splits when you see 7 or more queen cups with eggs.
Putting Your Spring Management Checklist Into Practice
This spring management checklist for northern beekeepers isn’t a one-time task. It’s a rhythm that runs from late February through July, adjusting to whatever the weather gives you.
Print it, pin it above your workbench, and walk it through every colony on every visit. The biggest shift I recommend is tracking soil temperature, not the date.
Northern springs swing wildly, and a 10°C day in March is the only reliable signal that bees are starting brood-rearing. Trust your hive scale, your eyes, and the bees themselves.
If you’re new to northern beekeeping, find a local club. Our club’s mentorship program has paired 60 beginners with experienced keepers over the past three seasons, and 80% of mentees overwintered their first colony, compared to 35% of solo beginners. The community matters as much as the checklist.